
|
 |
 |
 |
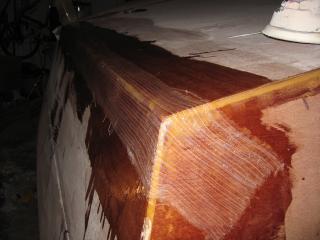
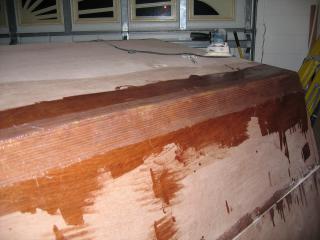
| The transom has enough putty now that I can start taping the chines. |
Another view of the chine being taped. |
More chine taping. |
 |
 |
 |
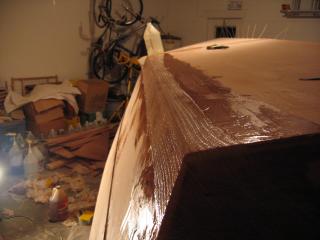
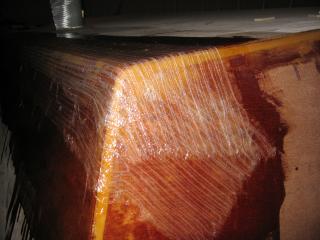
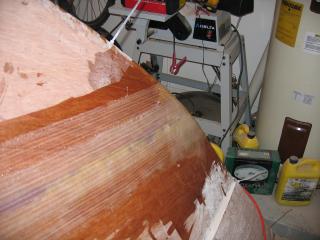
| Side profile of the bow showing more chine taping. |
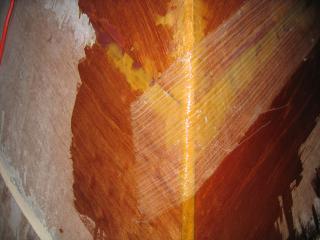
The first chine is shown taped to the bow. |
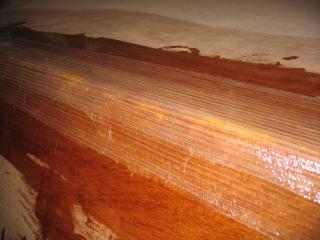
The second layer of tape (staggered) is now able to be applied on the chine. The epoxy is still tacky, so I didn't need to sand it. |
 |
 |
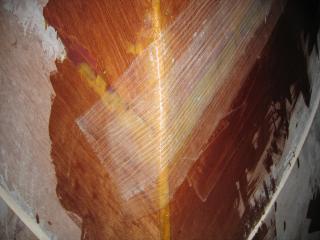 |
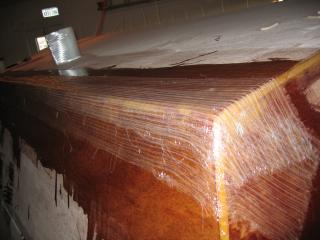
| Transom/Chine seam shown with two layers of biaxial tape. |
Closeup of Transom/Chine seam. |
One chine completely taped from stern to bow. |
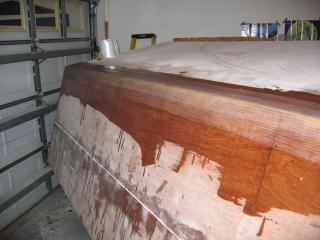 |
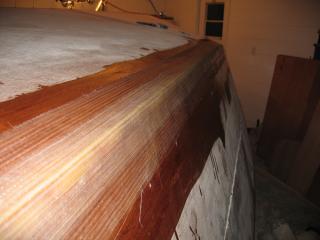 |
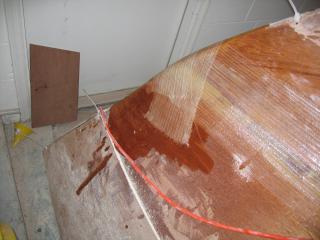 |
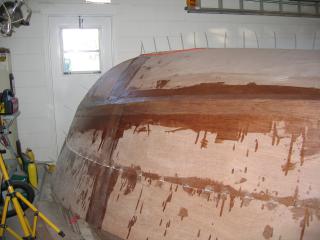
| Both chines are now double taped. |
I did both layers of tape in one evening.. |
Both chines completely taped from stern to bow. |
 |
 |
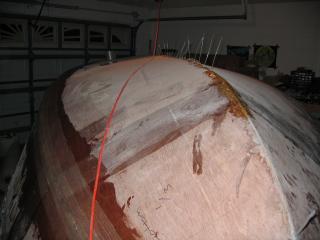 |
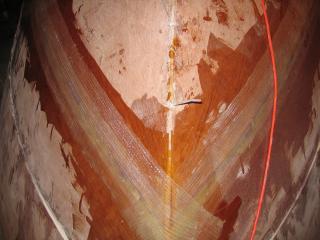
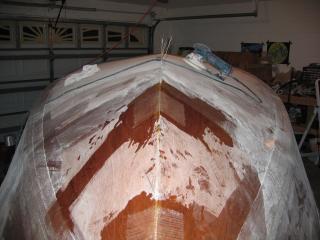
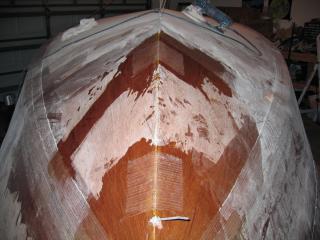
| Another view of the bow. |
One more view of the bow. |
Finally I have started to apply some putty to the keel joint. |
 |
 |
 |
| Another view of the keel nearly done being filled in. |
The putty in the keel is now sanded smooth. |
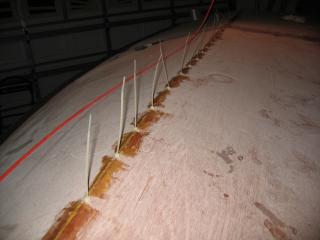
Since there is a lot of stress on the joints near the bow where everything was pulled in I put in some small fiberglass
tabs to lock the bow in place so I can pull the ties out. |

|