|
|
|||||||||||||||||||||||||||||||||||||||||||||||||||||||||||||||||||||||||||||||||||||||||||||||||||
|
|
|||||||||||||||||||||||||||||||||||||||||||||||||||||||||||||||||||||||||||||||||||||||||||||||||||
 |
|  |
|||||||||||||||||||||||||||||||||||||||||||||||||||||||||||||||||||||||||||||||||||||||||||||||||
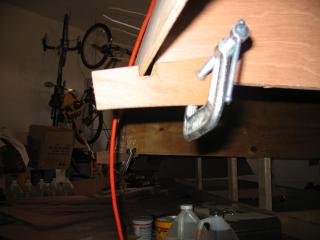
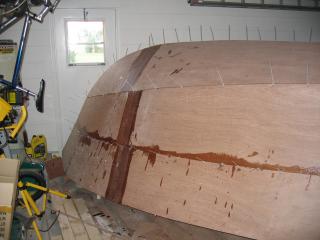
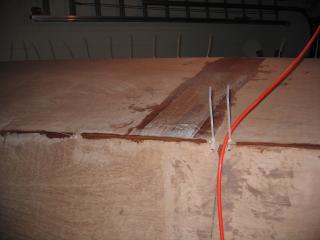
| The first upper side panel is installed seen here resting on the notched holder. | This is the bow after the first upper side panel is stitched and glued. | Another view of the boat after the first USP is installed. | |||||||||||||||||||||||||||||||||||||||||||||||||||||||||||||||||||||||||||||||||||||||||||||||||
 |
 |
 |
|||||||||||||||||||||||||||||||||||||||||||||||||||||||||||||||||||||||||||||||||||||||||||||||||
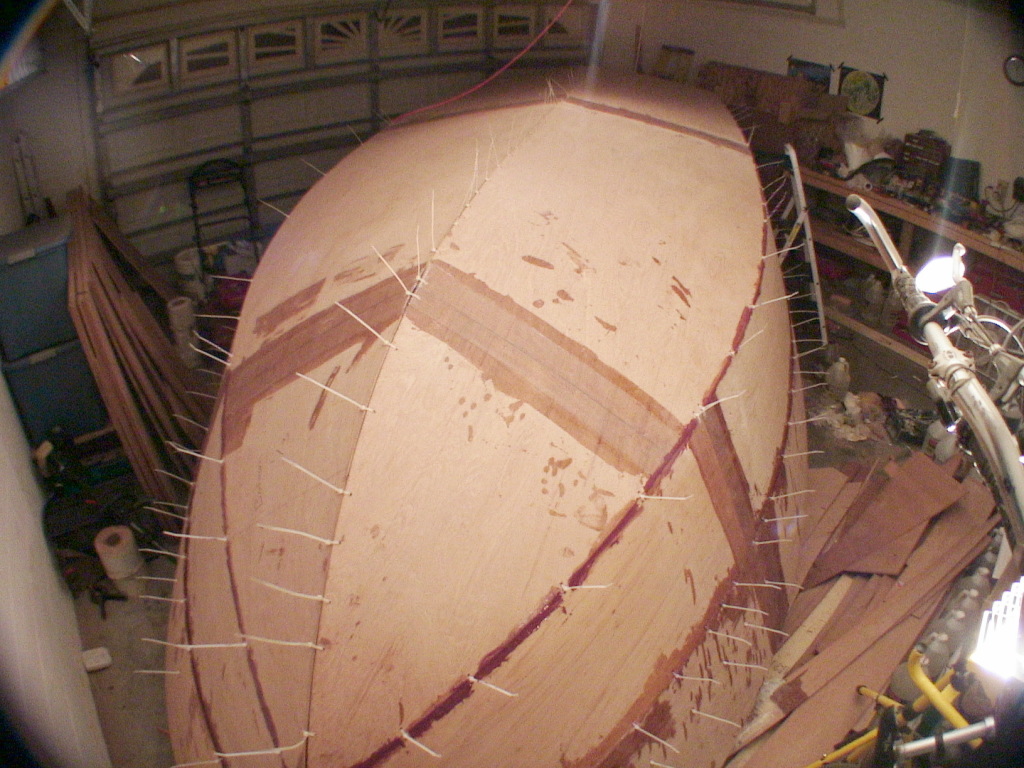
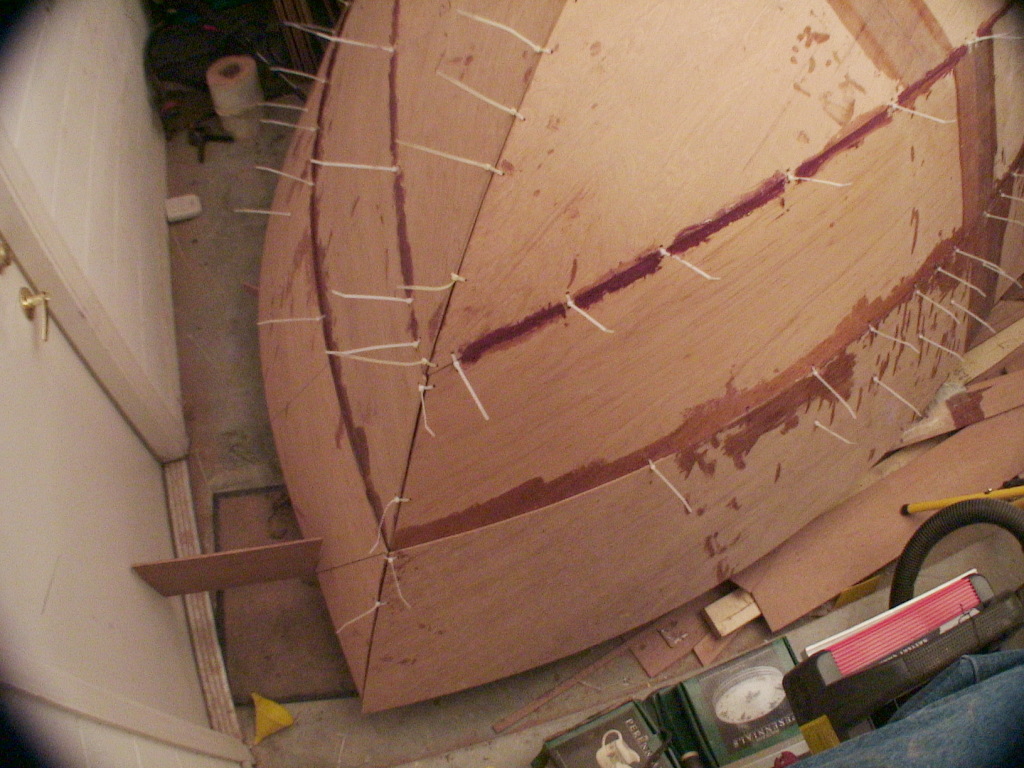
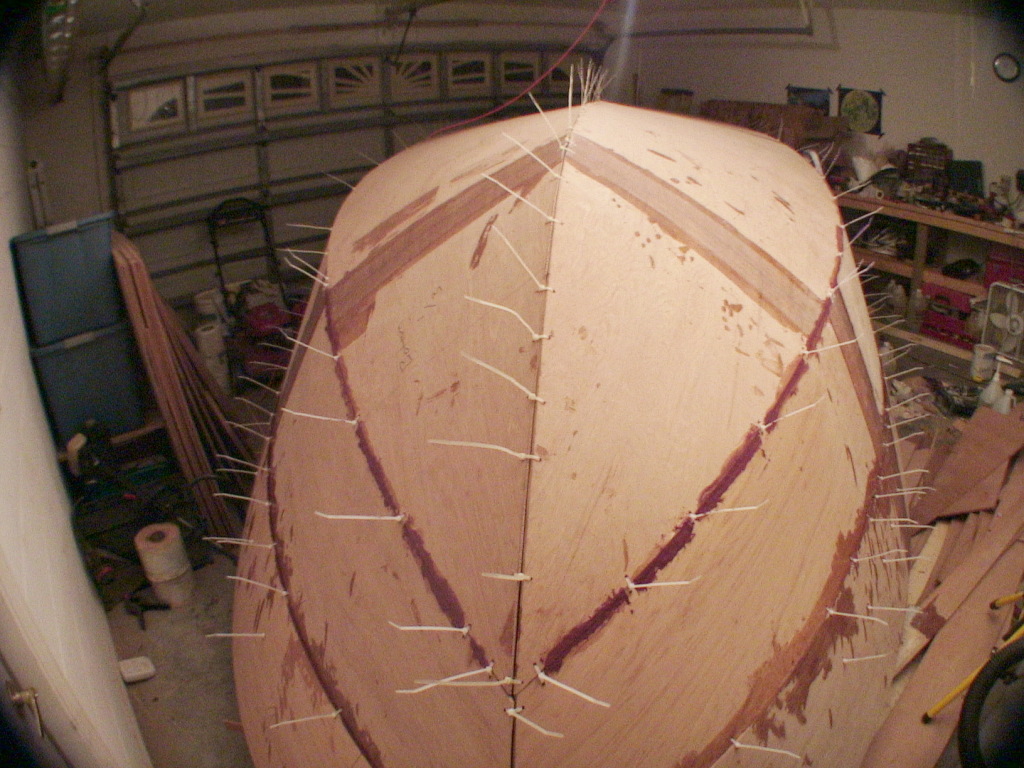
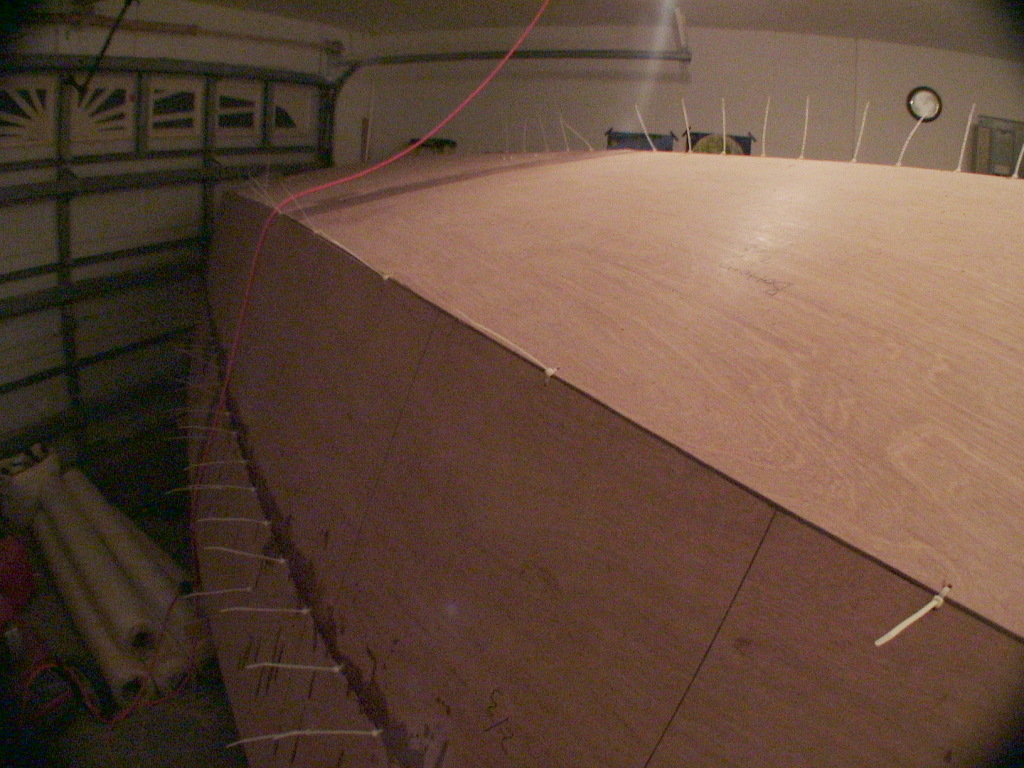
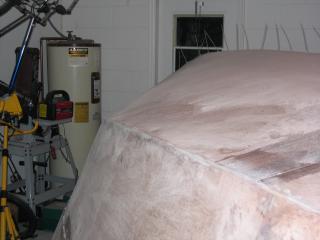
| This shot was taken with a wide angle lens showing as much of the boat as possible after all stitching was completed. | A wide angle shot of the bow. | Yet another wide angle shot. | |||||||||||||||||||||||||||||||||||||||||||||||||||||||||||||||||||||||||||||||||||||||||||||||||
 |
 |
| |||||||||||||||||||||||||||||||||||||||||||||||||||||||||||||||||||||||||||||||||||||||||||||||||
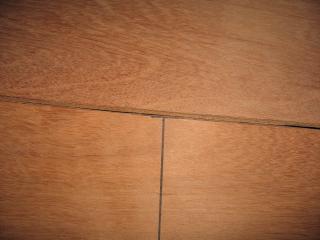
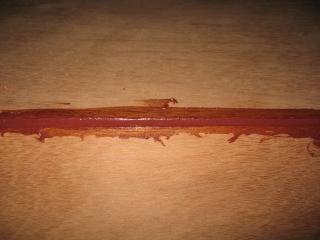
| This picture shows the least most photographed side of the boat, shown here with USP/LSP stitched and glued. | Before any taping of the hull seams can be done the edges must be filled. | Here is a sample of a filled seam. I'll need to still add more and then sand it nice and round. | |||||||||||||||||||||||||||||||||||||||||||||||||||||||||||||||||||||||||||||||||||||||||||||||||
 |
 |
 |
|||||||||||||||||||||||||||||||||||||||||||||||||||||||||||||||||||||||||||||||||||||||||||||||||
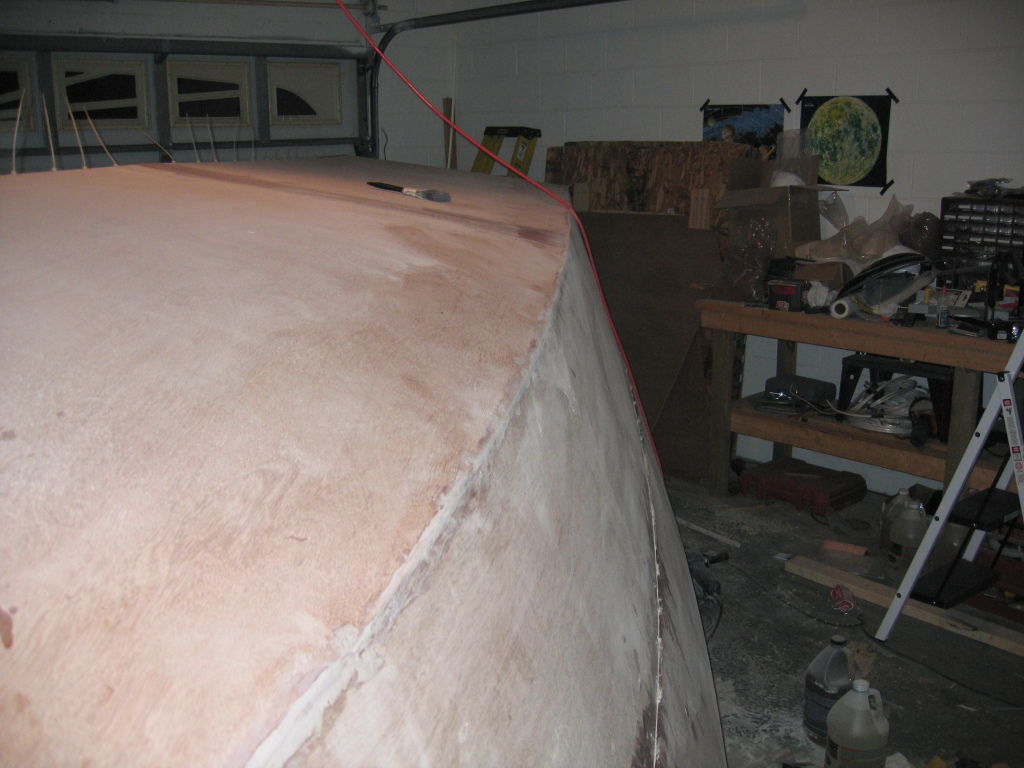
| The edge between the LSP and the bottom being filleted. | Another view of the filleting, done between stitching. Fiberglass tabs will be installed over between some of the stitches to hold the panel before the stitches are removed. | Sanded fillets on the outside of the hull. We want a smooth round edge at the chines, towards the bow the edge nearly goes away. | |||||||||||||||||||||||||||||||||||||||||||||||||||||||||||||||||||||||||||||||||||||||||||||||||
 |
 |
 |
|||||||||||||||||||||||||||||||||||||||||||||||||||||||||||||||||||||||||||||||||||||||||||||||||
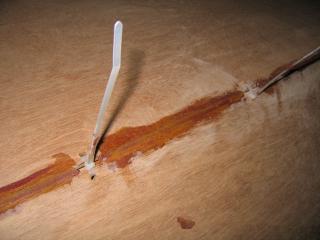
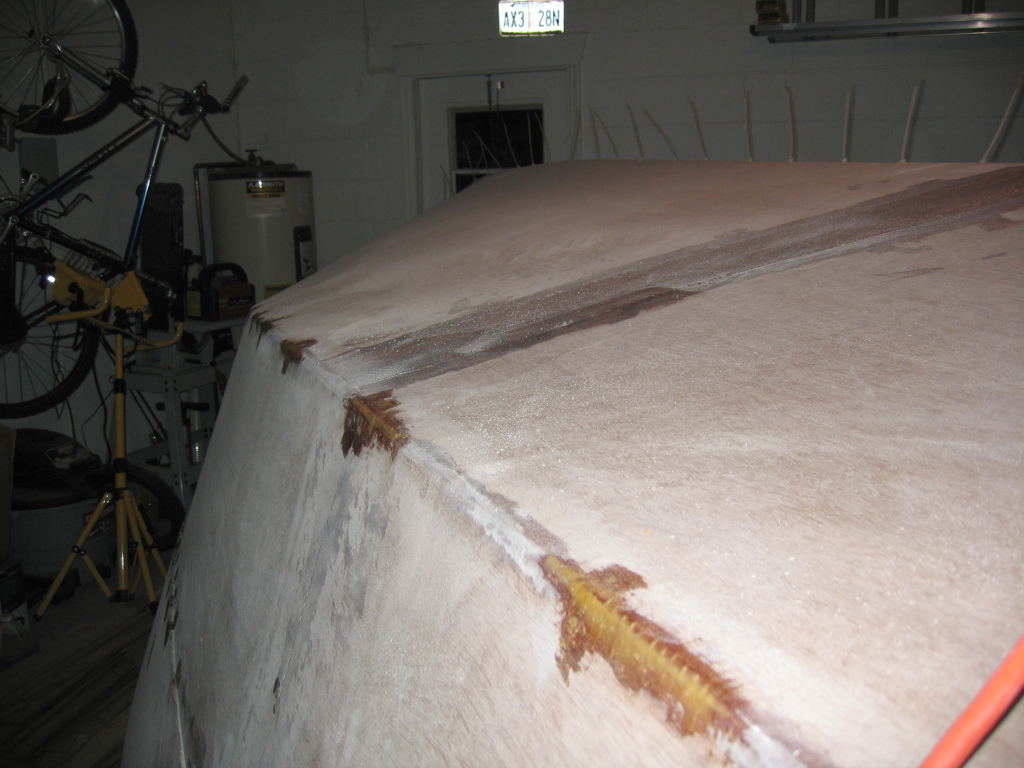
| After the fillets were sanded, I added another layer of putty to further smooth any imperfections. I'll need to sand one more time. | The wire wraps/zip ties can now be pulled from the USP/LSP overlap area. The epoxy has cured. | Once the fillets cured I realized how strong they held the boat together so I pulled the zip ties without tabbing. The holes from the zip ties are filled with putty. Once this is cured, it will be sanded again and then the chines will be taped. | |||||||||||||||||||||||||||||||||||||||||||||||||||||||||||||||||||||||||||||||||||||||||||||||||
 |
 |
 |
|||||||||||||||||||||||||||||||||||||||||||||||||||||||||||||||||||||||||||||||||||||||||||||||||
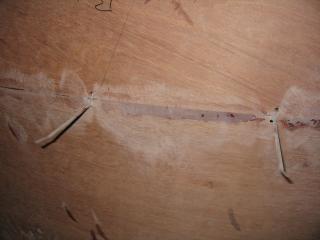
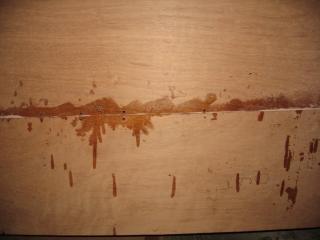
| Here is what the chines look like after the stitches have been pulled and the wire holes filled with putty. The darker areas are the fresh putty. | The putty has cured and is now sanded down smooth along the chines. | Another view of the chine. You can tell from these photos that there is a lot of dust from the sanding. | |||||||||||||||||||||||||||||||||||||||||||||||||||||||||||||||||||||||||||||||||||||||||||||||||
| The hull is raised with 1/4" plywood scrap off the transom. | Most of the builders I have seen lift the hull from the transom and load it up with putty, eliminating hardspots and adding strength by bonding wood to epoxy to wood. The alternative is to risk having reduced strength by the plywood directly touching plywood where no bond would be possible. | Here's a nice view down the chine, but also showing the transom. I crawled under the hull and filleted the transom as much as possible. The stringers are in the way of finishing the job. | |||||||||||||||||||||||||||||||||||||||||||||||||||||||||||||||||||||||||||||||||||||||||||||||||
 |
 |
 |
|||||||||||||||||||||||||||||||||||||||||||||||||||||||||||||||||||||||||||||||||||||||||||||||||
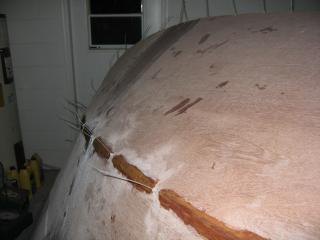
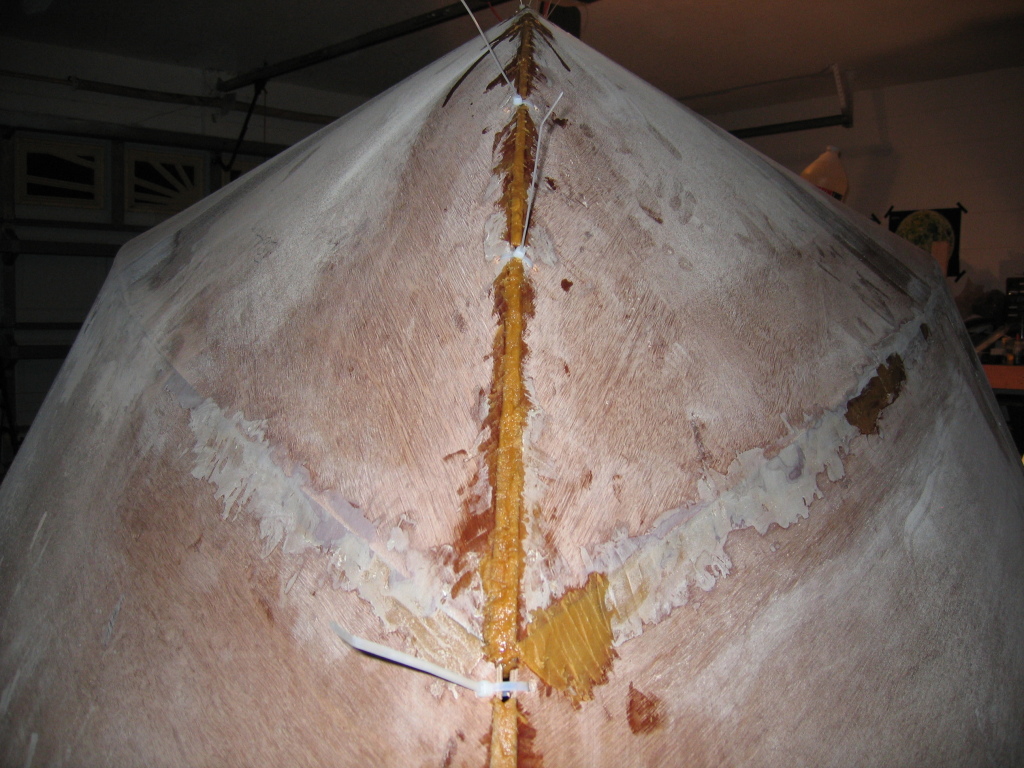
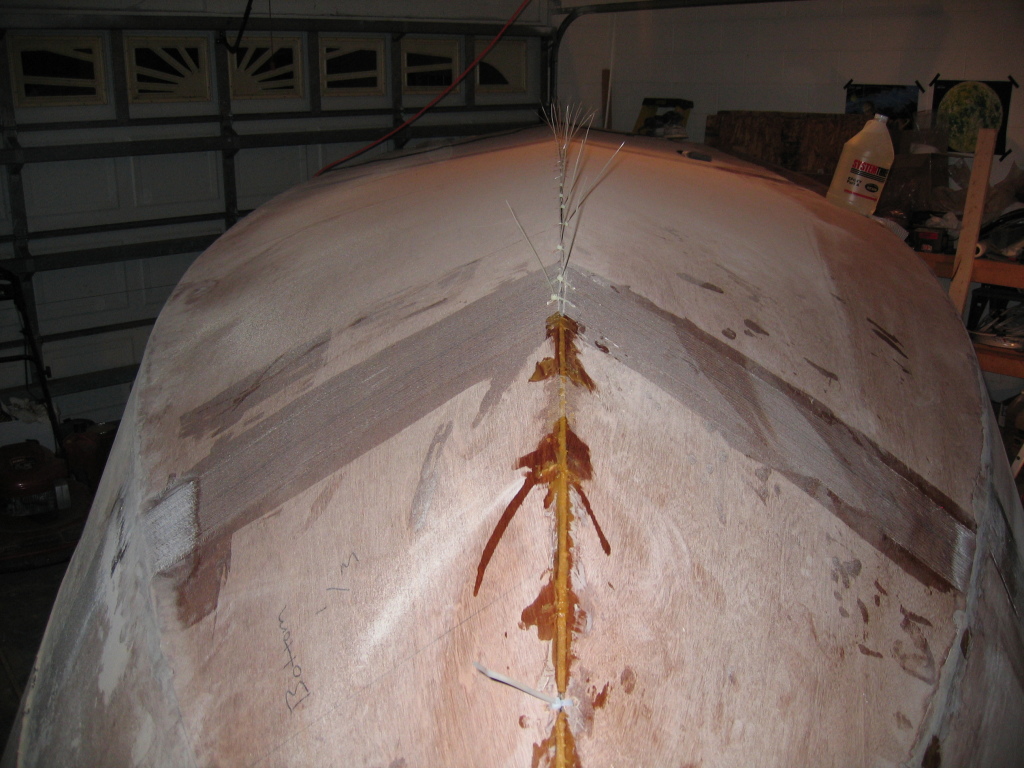
| Slowly I have been glueing the bow and periodically removing a few ties. | I need to finish the bow before I can tape the chines all the way up. | Probably in another day the bow will be all glued up and ready. | |||||||||||||||||||||||||||||||||||||||||||||||||||||||||||||||||||||||||||||||||||||||||||||||||
|
|
|||||||||||||||||||||||||||||||||||||||||||||||||||||||||||||||||||||||||||||||||||||||||||||||||||
Copyright© 2004 - 2005 by Michael D'Amour. All rights reserved.