
|
|
|
 |
 |
 |
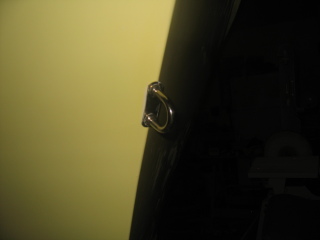
| I installed the bow eye (large U-bolt) through the hull after drilling my first holes in the boat. I was surprised by the thickness of the hull at the bow, but it makes sense given the number of overlapping layers of fiberglass. |
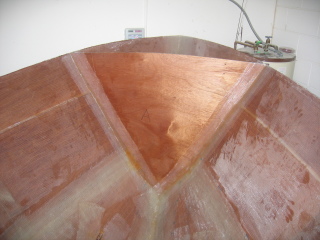
The first frame (A) is now fiberglassed into position. The stringers and frames are supposed to be given a clear coat to seal them, which is why this frame almost appears to be stained. |
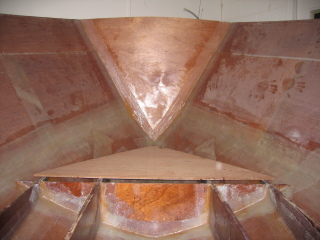
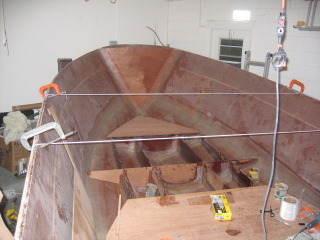
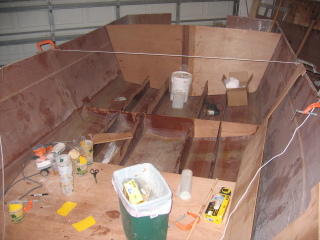
The second frame (B) is now fiberglassed to the hull and stringers. I cut the first 2 sections of the sole, here you see the first section sitting where it will eventually be. |
 |
 |
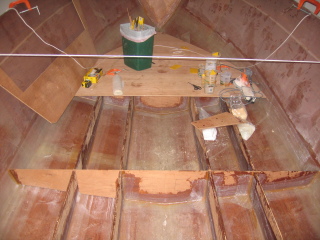 |
| Here is a side view showing the first three frames, with frame C glassing just over half way completed. |
Frame C is finished and I set the second part of the sole down. |
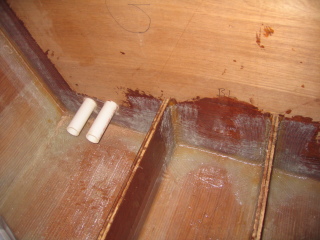
In the foreground is Frame E which is now just over halfway done. |
 |
 |
 |
| We've now finished fiberglassing the fillets for the G frame. This is the last of the frames/stringers that we need to glass up. |
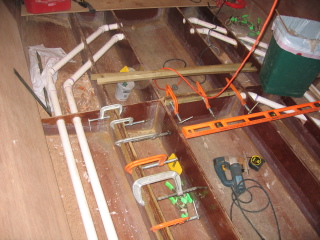
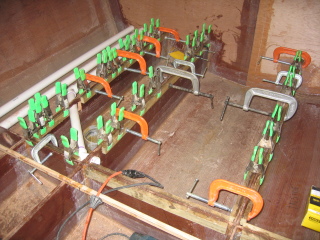
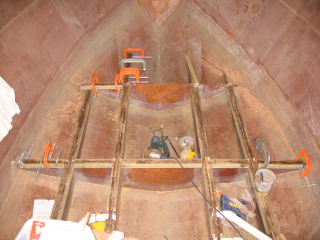
I've started glueing cleats to the tops of the stringers and frames (below deck). If I had more clamps I could finish much sooner. |
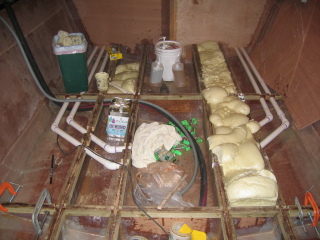
I have now installed chase tubes to run engine controls and various boat electric cable. |
 |
 |
 |
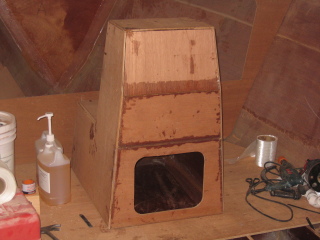
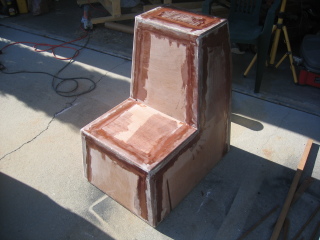
| Since I can't do much while the cleats are curing, I used as much scrap plywood as possible and ended up only having to use 1 sheet of 3/8" plywood to build the center console. Here it is completely glassed (tape) on the inside and sealed. I have also routed all edges with a 1/2" roundover bit. The cutout is for an access hatch which was used as a template before cutting the hole. |
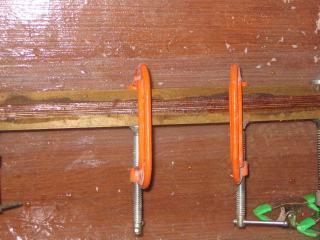
This picture is pretty much every spring clamp and c-clamp I own being used at once. |
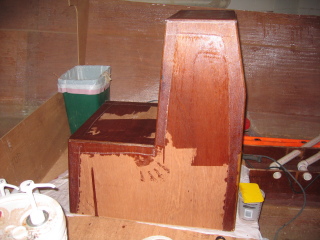
With some more time between cleat gluing I've fiberglass taped the outside of the center console. |
 |
 |
 |
| I mixed up a small batch of fairing compound (microballoons + silica) after briefly sanding and spread it out along the edges of the fiberglass tape and the bare wood. Once this cures, I'll sand it and determine if another round will be needed. |
Here's a view towards the bow, much progress has been made on the cleat gluing, almost done. |
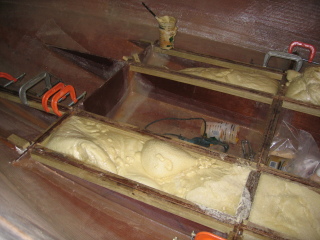
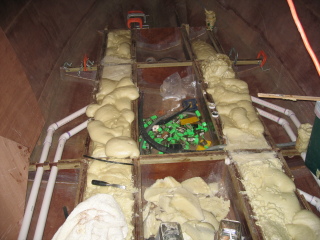
While waiting for the cleats up in the bow to finish curing I decided to begin playing with bouyancy foam. I've had this stuff sitting around for awhile and I finally got to mix it up. Pretty simple to work with, mix equal batches of part A with part B and about 30-45 seconds later, the stuff starts growing. Mix a small batch to get an idea of how much expanding will take place. I did 24oz total for all of my batches and it was very manageable. Plan to throw away anything you mix it up in and stir it up with. |
 |
 |
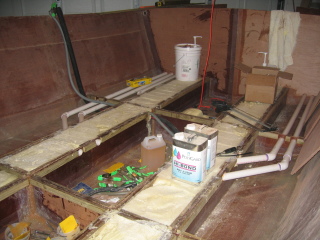 |
| More foaming... This stuff gets pretty hot as it kicks. |
At this point I've got most of the compartments foamed. I intentionally overflowed each section so that when I trimmed them I could make a perfectly level surface. |
Using a long and flat saw blade, I trimmed off the excess foam to create a perfect surface, flush with the top of the cleats. |

|