|
|
|||||||||||||||||||||||||||||||||||||||||||||||||||||||||||||||||||||||||||||||||||||||||||||||||||
 |
 |
 |
|||||||||||||||||||||||||||||||||||||||||||||||||||||||||||||||||||||||||||||||||||||||||||||||||
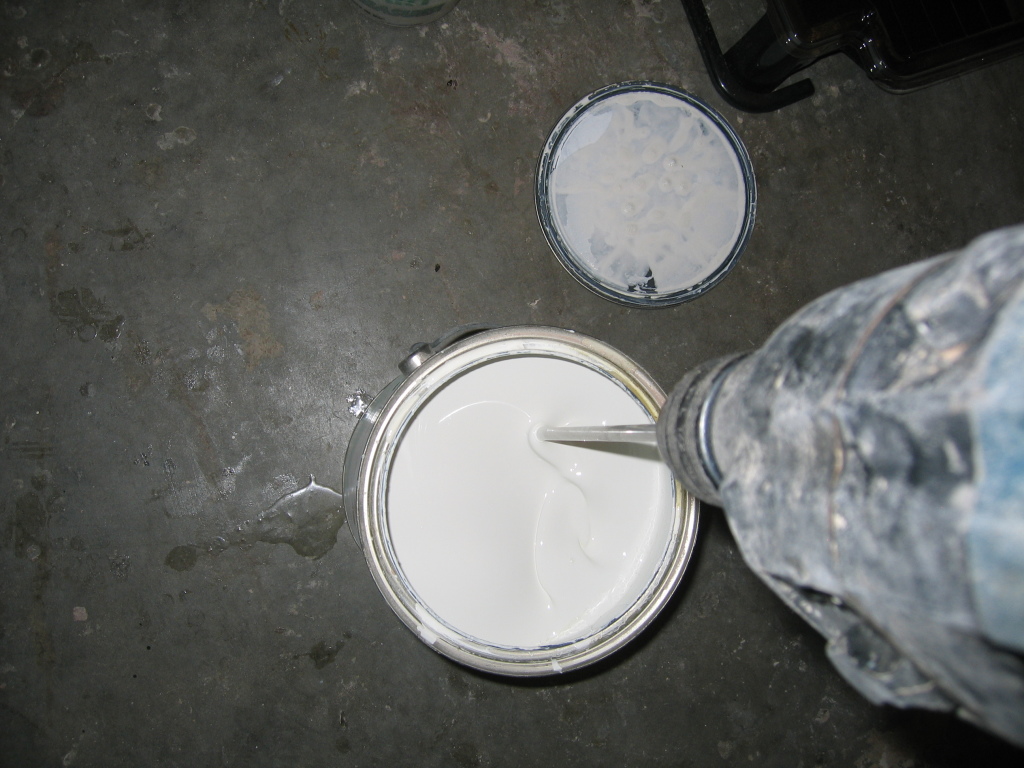
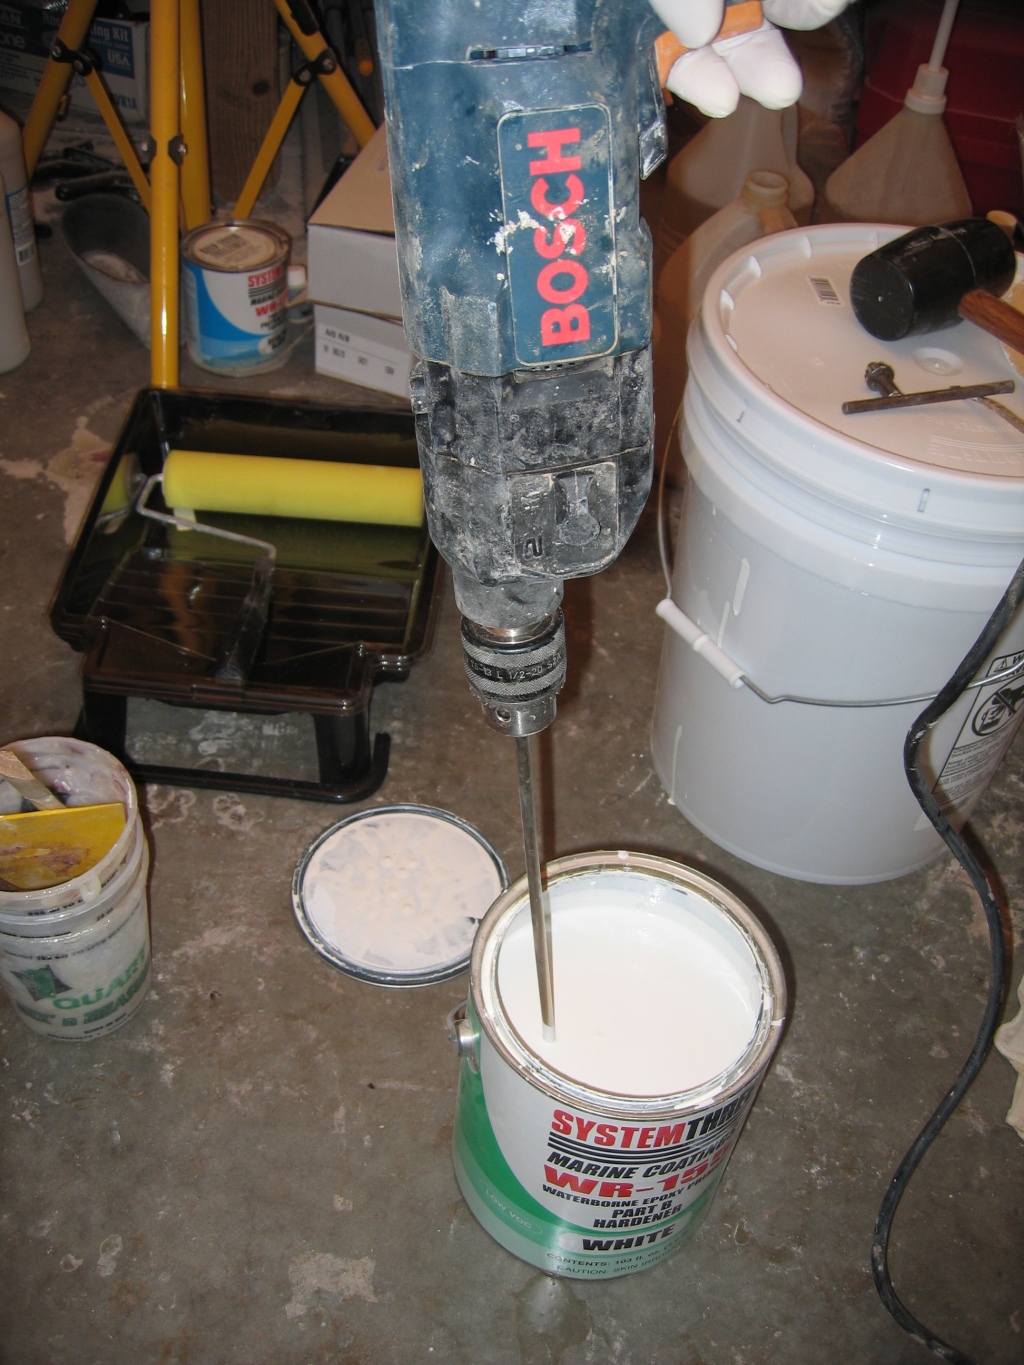
| My primer had been sitting for awhile and there was a good inch worth of filler that settled to the bottom. | It took quite awhile to mix it up, even with a drill, but in the end it is perfectly mixed. | The primer is a 2 part solution, a 4-to-1 ratio. In order to make manageable batches I mixed 1 liter of primer to 1/4 liter of activator. Once mixed, it is critical to thin the solution with water/alchohol. | |||||||||||||||||||||||||||||||||||||||||||||||||||||||||||||||||||||||||||||||||||||||||||||||||
 |
 |
 |
|||||||||||||||||||||||||||||||||||||||||||||||||||||||||||||||||||||||||||||||||||||||||||||||||
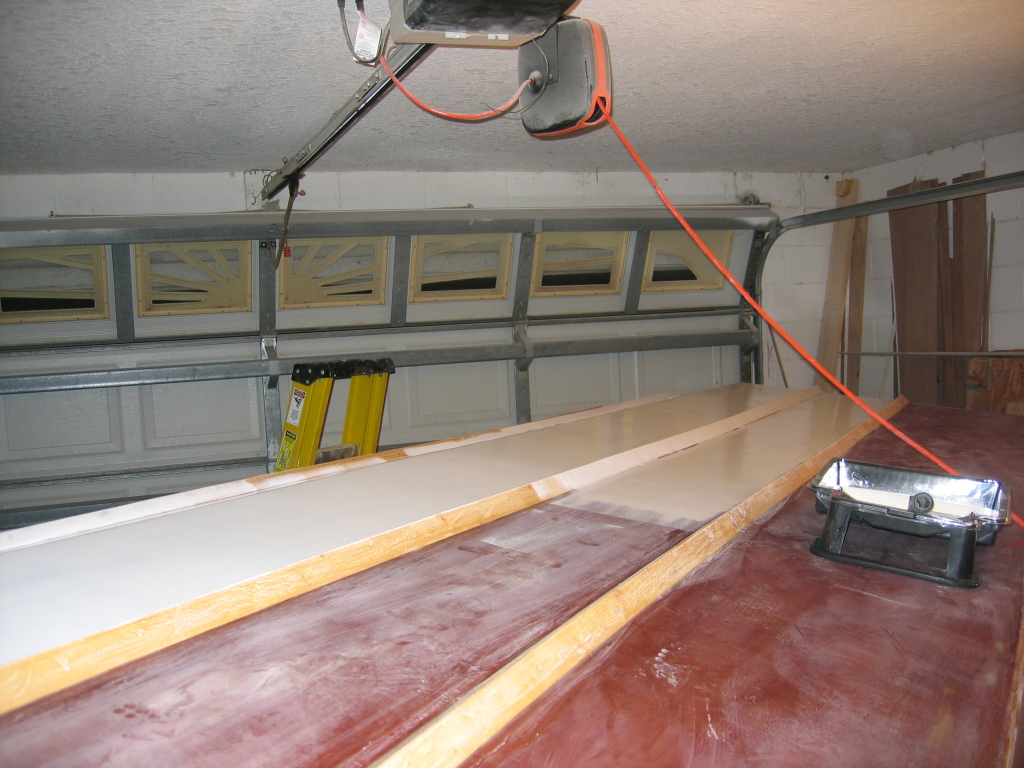
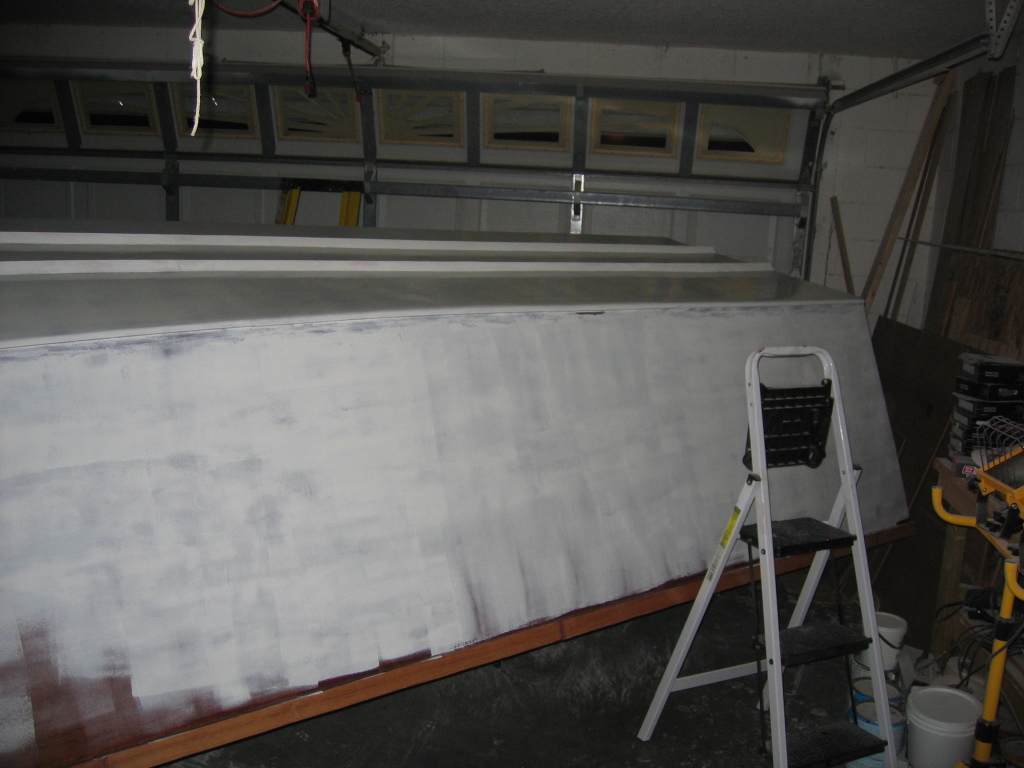
| I applied the primer with a roller, here's a shot from the beginning of the first coat. | A view down the keel during the first coat. | One side of the hull bottom is now primed with 1 coat. | |||||||||||||||||||||||||||||||||||||||||||||||||||||||||||||||||||||||||||||||||||||||||||||||||
 |
 |
 |
|||||||||||||||||||||||||||||||||||||||||||||||||||||||||||||||||||||||||||||||||||||||||||||||||
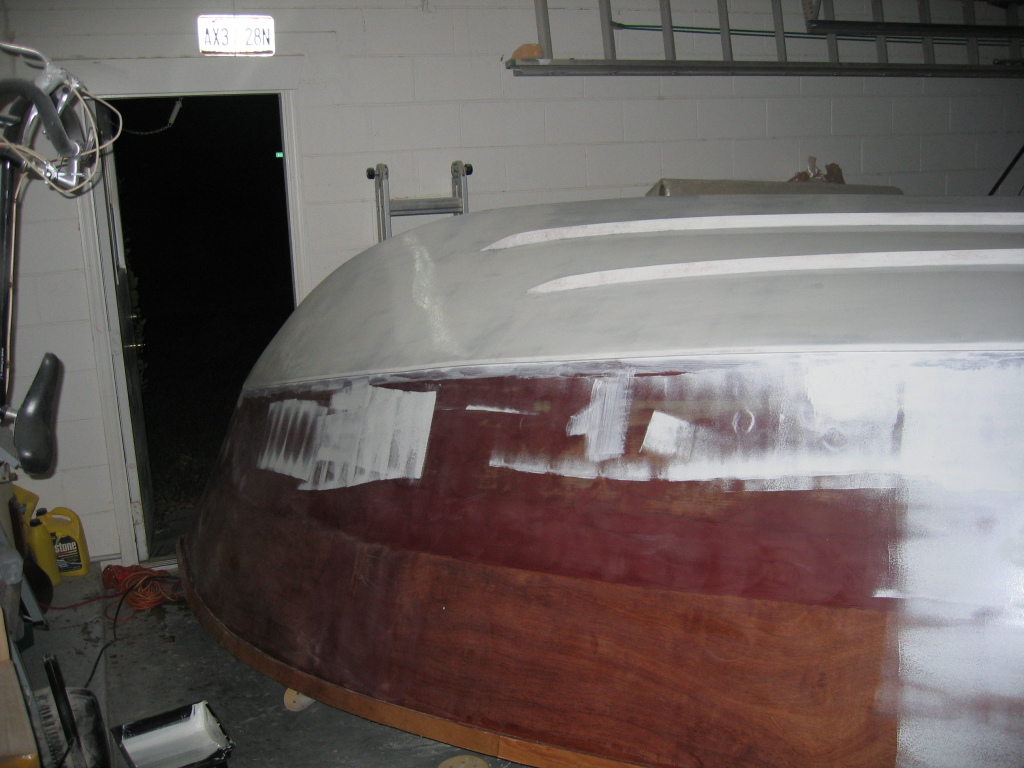
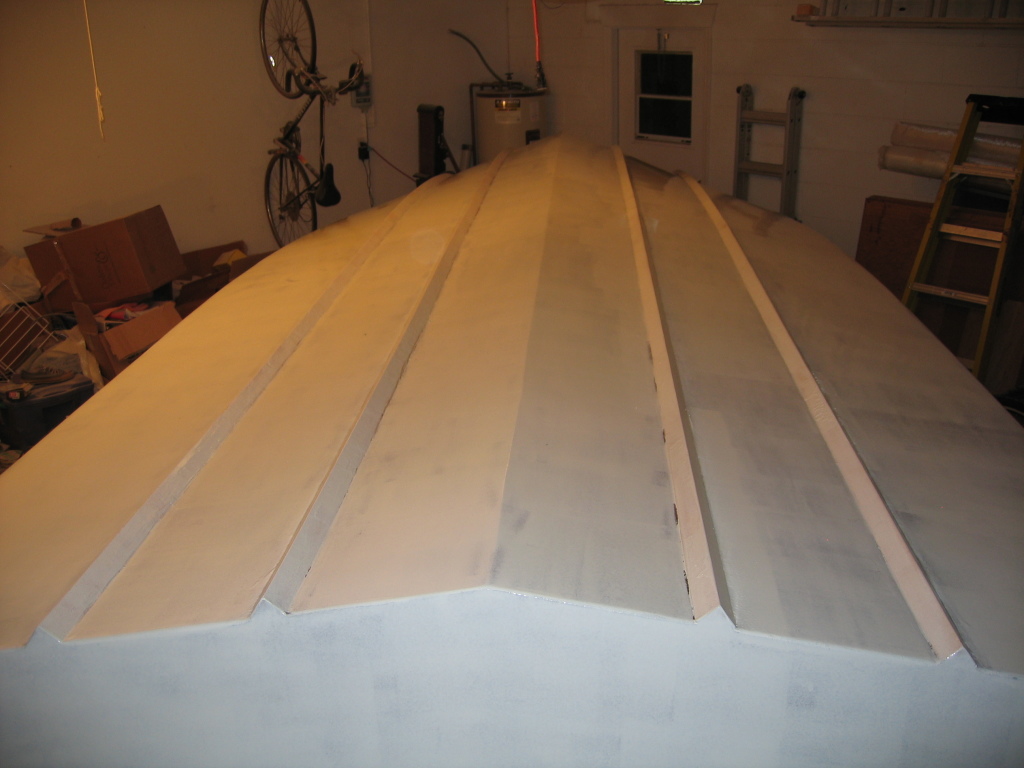
| Another view of the first coat on half of the hull bottom. | I've now started to prime the sides. | Priming near the bow. | |||||||||||||||||||||||||||||||||||||||||||||||||||||||||||||||||||||||||||||||||||||||||||||||||
 |
 |
 |
|||||||||||||||||||||||||||||||||||||||||||||||||||||||||||||||||||||||||||||||||||||||||||||||||
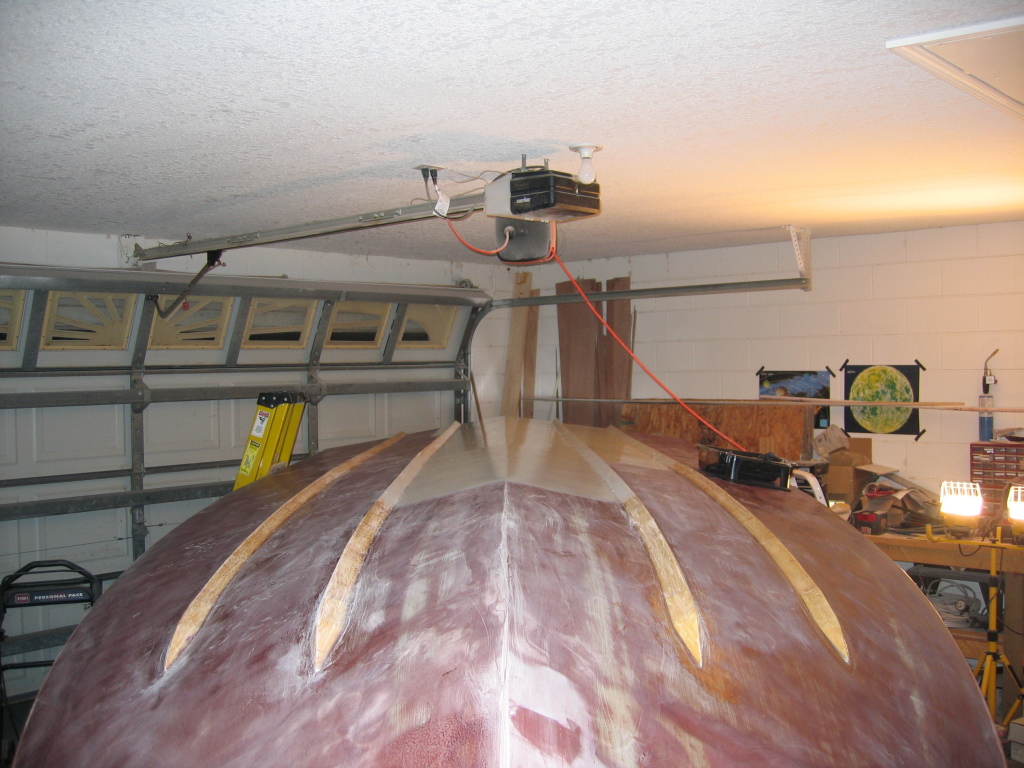
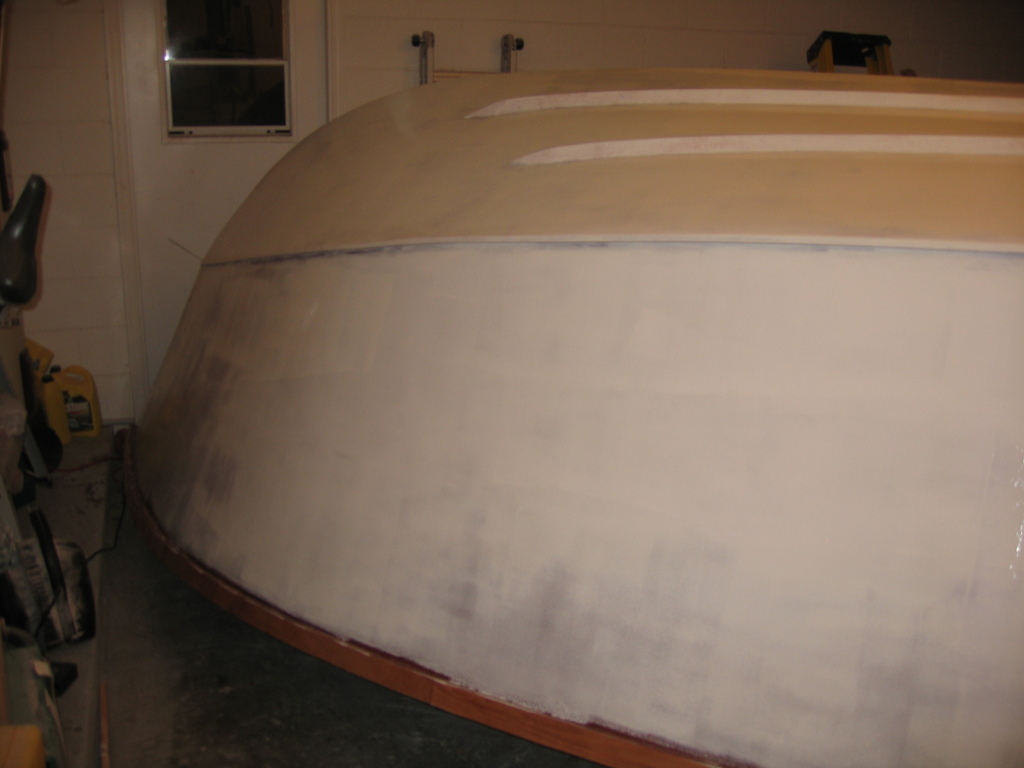
| The hull is now primed, first coat. For the record, I primed the entire hull with 4 coats! | At this point the entire hull is primed with its first coat. | A view of the hull bottom primed from the bow. | |||||||||||||||||||||||||||||||||||||||||||||||||||||||||||||||||||||||||||||||||||||||||||||||||
 |
 |
 |
|||||||||||||||||||||||||||||||||||||||||||||||||||||||||||||||||||||||||||||||||||||||||||||||||
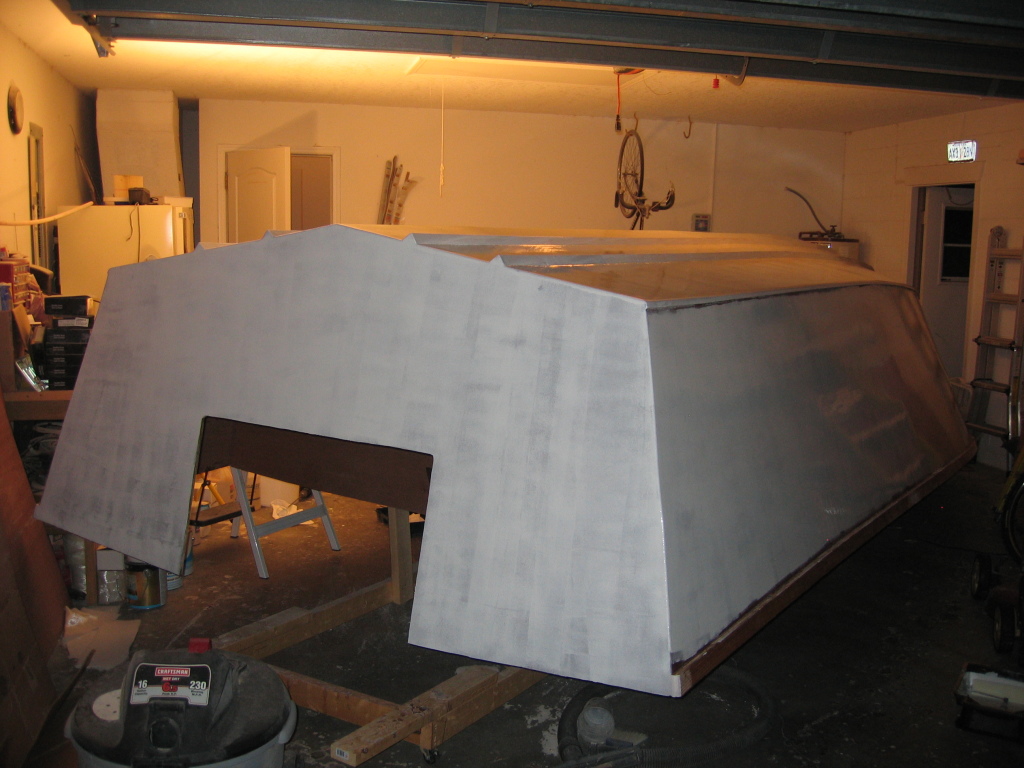
| A view of the stern looking forward after 1 primer coat. | I stepped outside of the garage to try to take a picture of the whole boat in its primed state. | Looking good, these are still the first coat, so the hull is not yet pure white. | |||||||||||||||||||||||||||||||||||||||||||||||||||||||||||||||||||||||||||||||||||||||||||||||||
 |
 |
 |
|||||||||||||||||||||||||||||||||||||||||||||||||||||||||||||||||||||||||||||||||||||||||||||||||
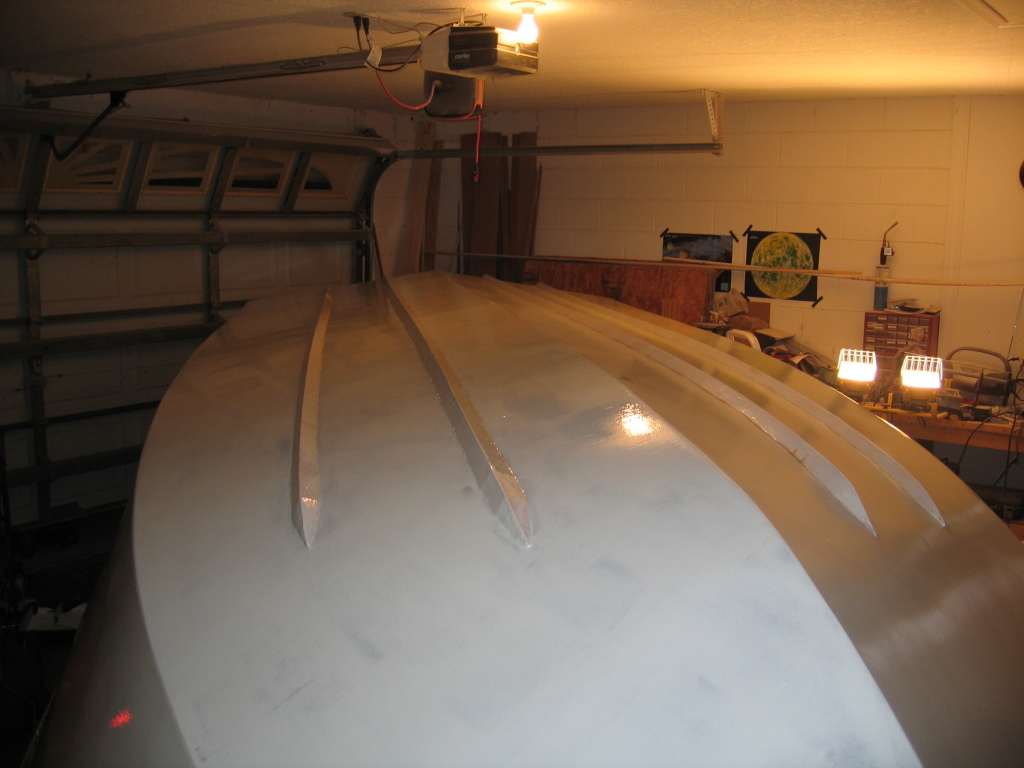
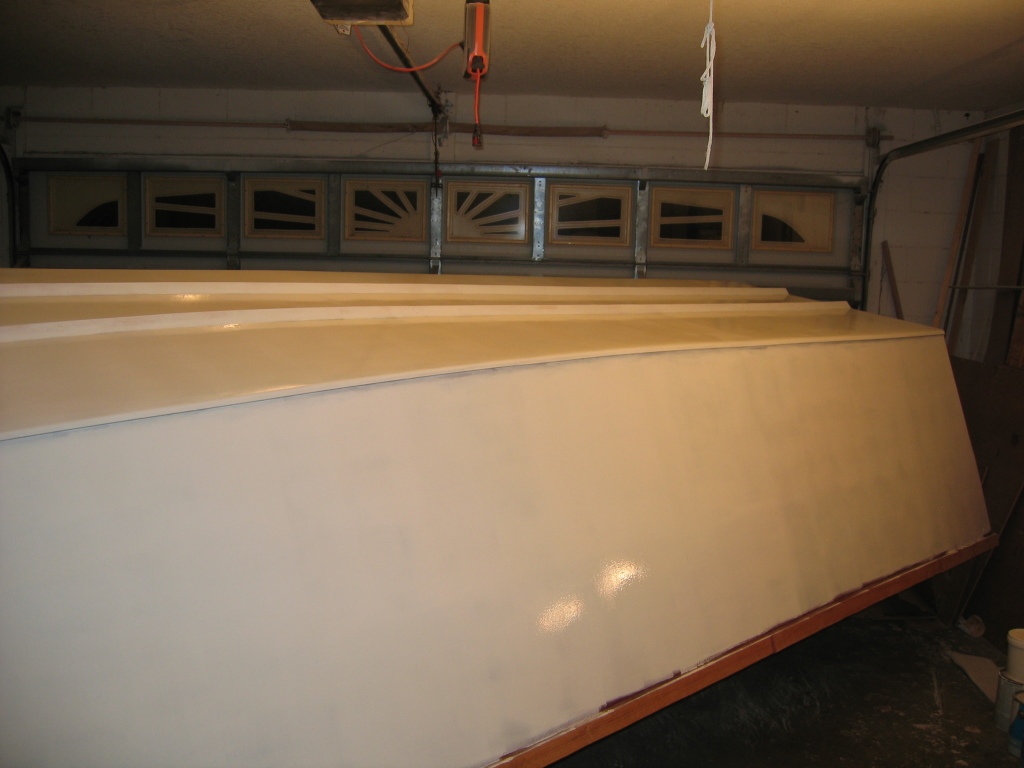
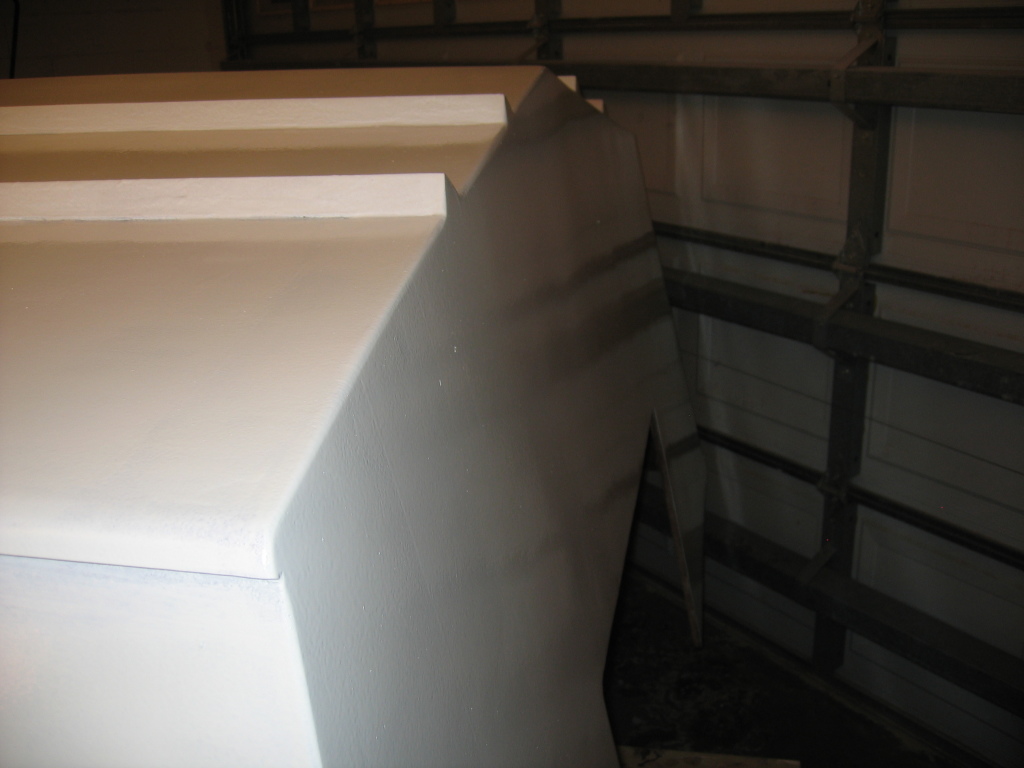
| This is a picture of the hull side with its 3rd coat of primer. | A view of the boat with 3 coats of primer. | A view of the transom. | |||||||||||||||||||||||||||||||||||||||||||||||||||||||||||||||||||||||||||||||||||||||||||||||||
 |
 |
 |
|||||||||||||||||||||||||||||||||||||||||||||||||||||||||||||||||||||||||||||||||||||||||||||||||
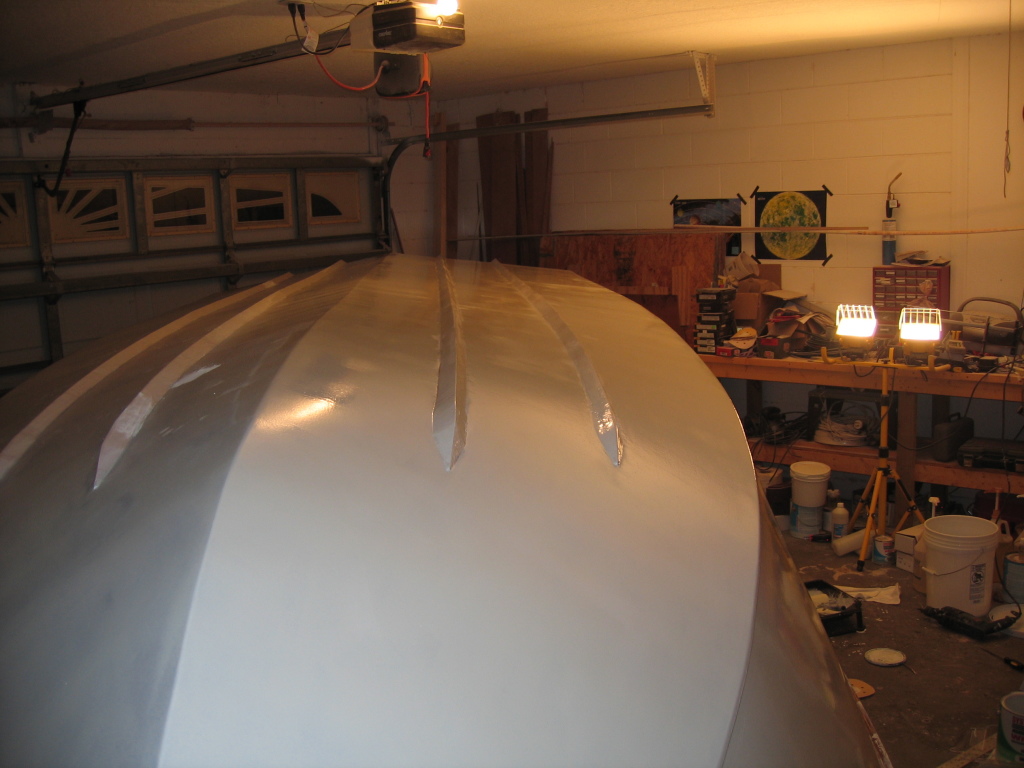
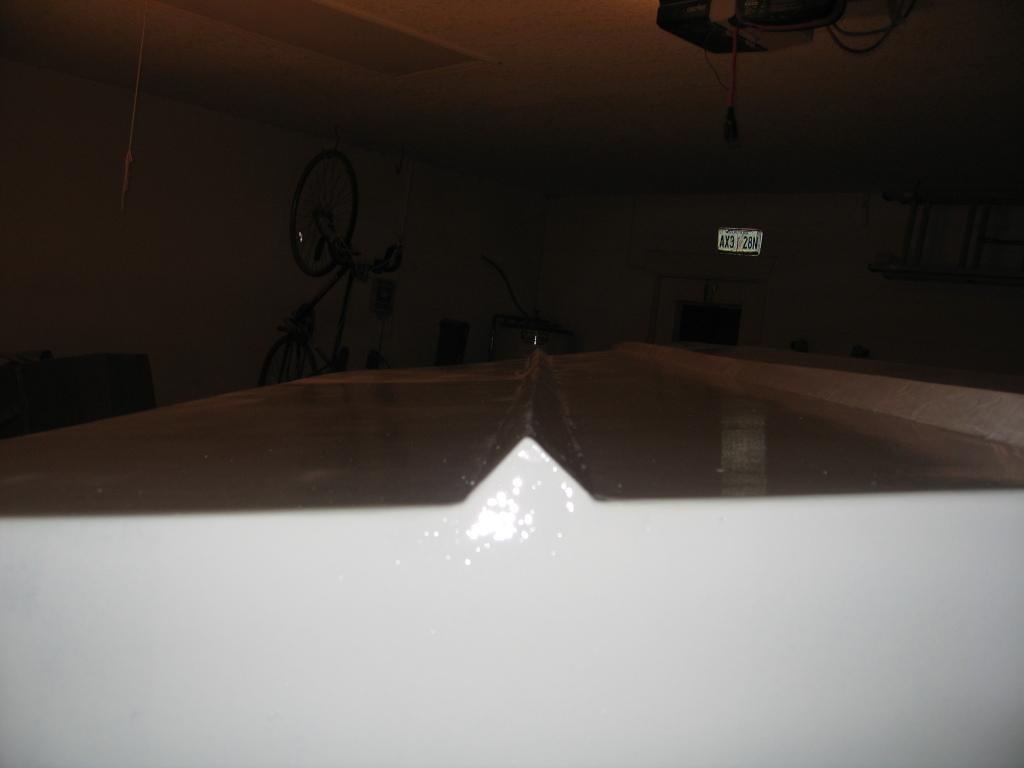
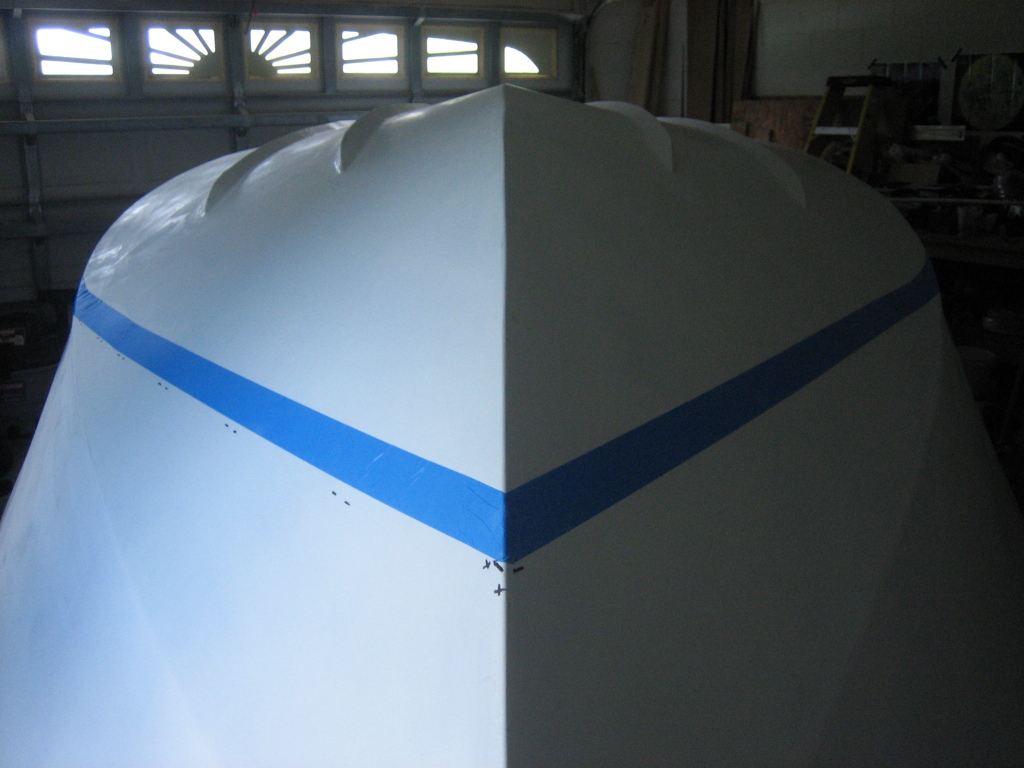
| An end of a strake at the transom, primer still wet. | The hull was left to sit for over 7 days to allow the primer to cure. Pefect since I was on vacation that week. Once I returned the primer was sanded up to 220 grit. | Now that the hull is ready for painting, I created a water-level and marked the DWL. I had a hard time trusting the line at the bow since it looks like it points upward, so I flipped this picture to prove it! | |||||||||||||||||||||||||||||||||||||||||||||||||||||||||||||||||||||||||||||||||||||||||||||||||
 |
 |
||||||||||||||||||||||||||||||||||||||||||||||||||||||||||||||||||||||||||||||||||||||||||||||||||
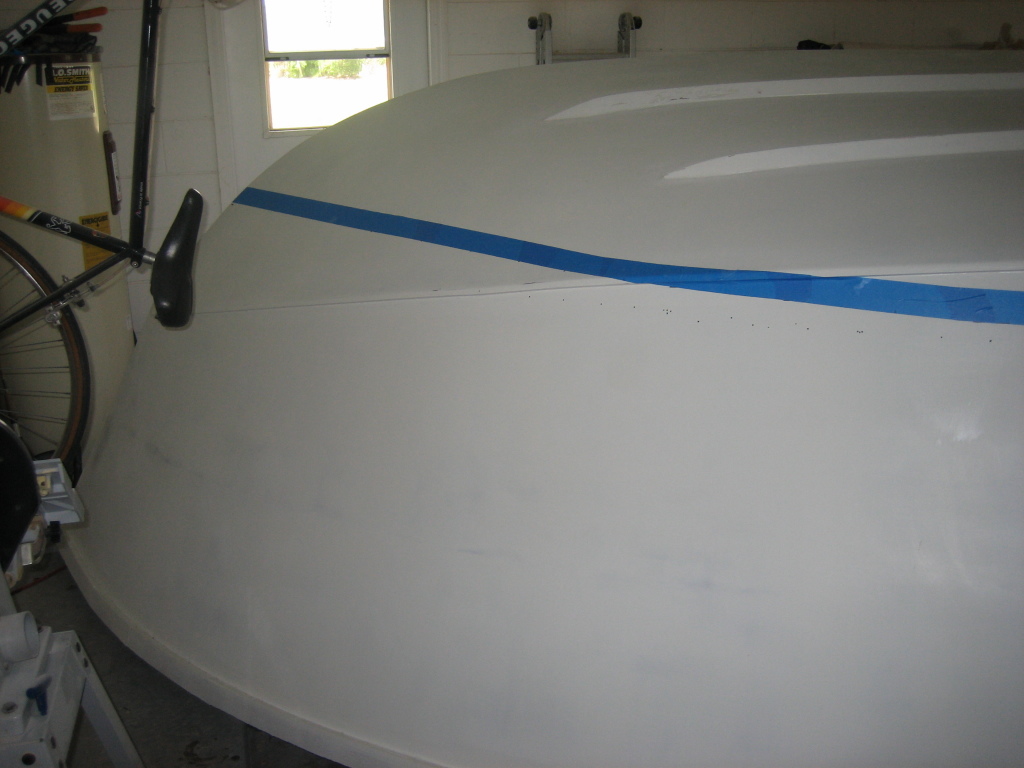
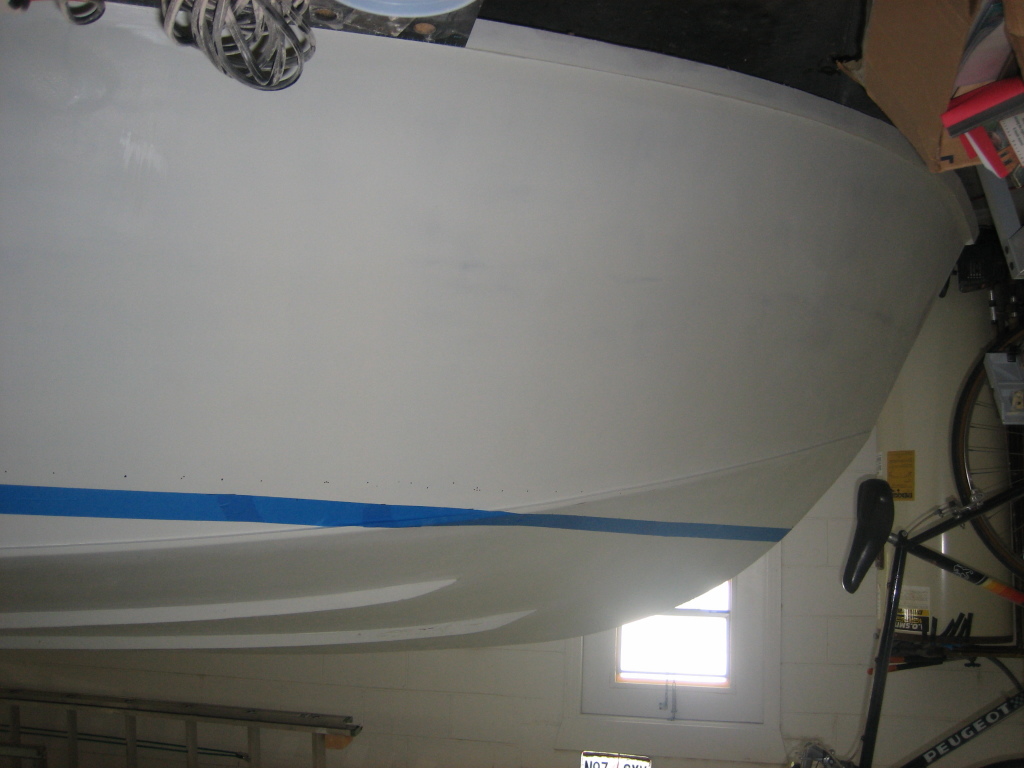
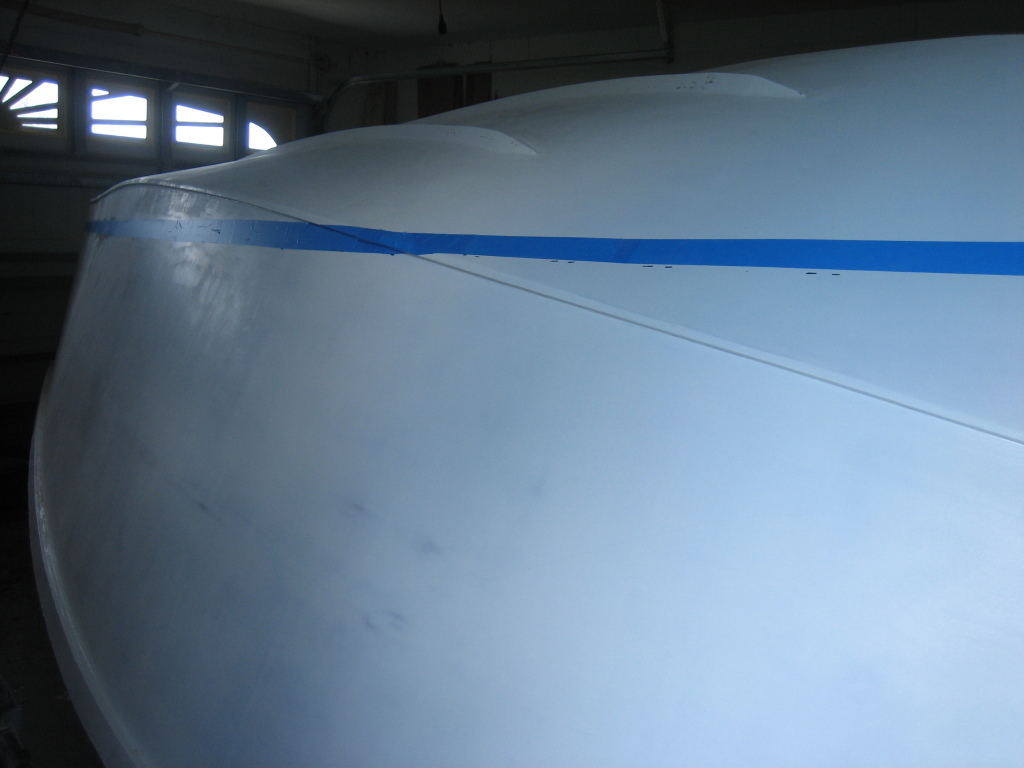
| Here's a view of the bow with the tape in place on both sides. | This picture again shows that indeed the line is level despite the illusion from certain angles that it poing upwards once it crosses the chine. | ||||||||||||||||||||||||||||||||||||||||||||||||||||||||||||||||||||||||||||||||||||||||||||||||||
|
|
|||||||||||||||||||||||||||||||||||||||||||||||||||||||||||||||||||||||||||||||||||||||||||||||||||
Copyright© 2004 - 2006 by Michael D'Amour. All rights reserved.