 |
 |
 |
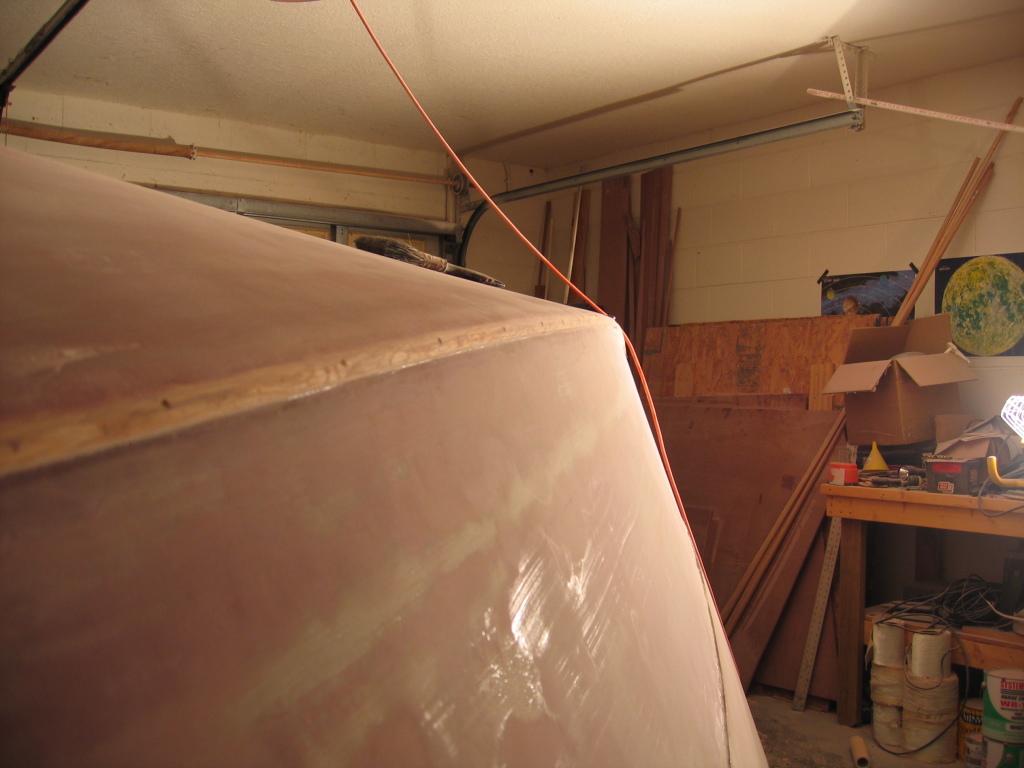
| The long awaited Page 13 is now available. After a few weeks of visitors, I am now starting to have time again to get back to fairing. I almost forgot how much fun it was. Between Page 12 and 13 represent several nights working many hours. | The most significant update is that both sides of the hull are pretty comparable. I still need to install the sprayrail on one side. The chine is just about good enough to install the rail to. | I still have to finish fairing the transom (lots of fiberglass layer overlaps causing major differences in thickness to be blended/faired out) and I have to figure out how I'm going to sand the keel area, I want that to be as painless as possible. The weather is starting to warm up and the epoxy is curing faster. Good. |
 |
 |
 |
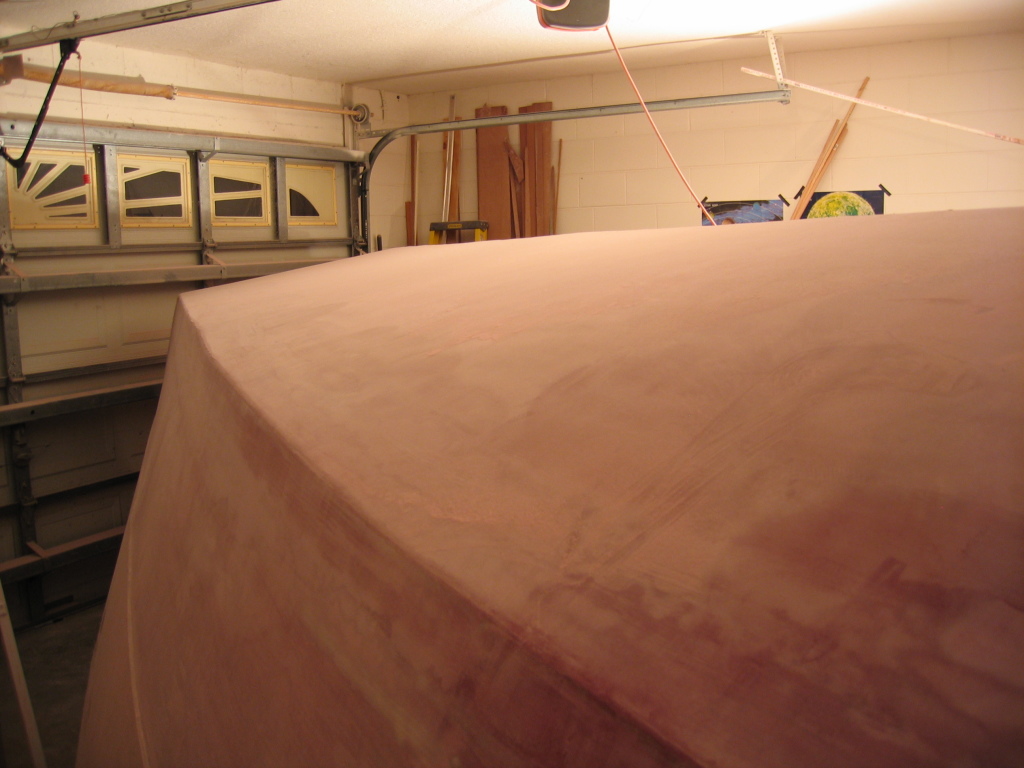
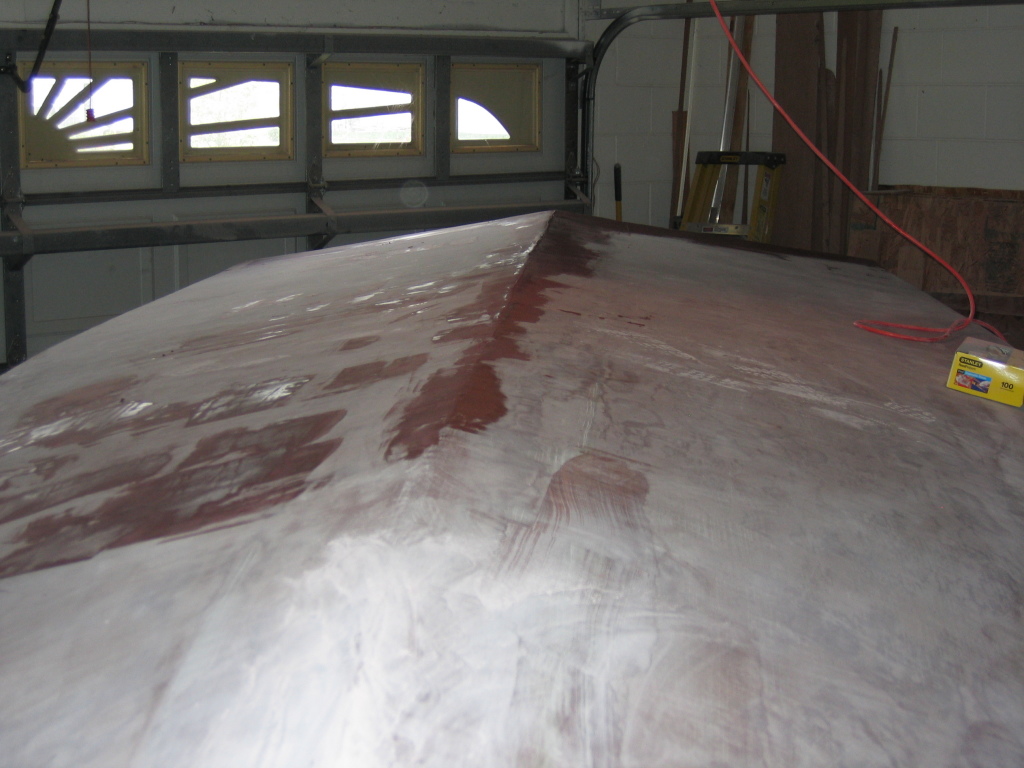
| Another thin layer of fairing compound on the hull bottom. | The sprayrail is now completely installed on both sides. | Another view of the sprayrail. I haven't really made finished the taper on the rails, but my rough guess was pretty close. |
 |
 |
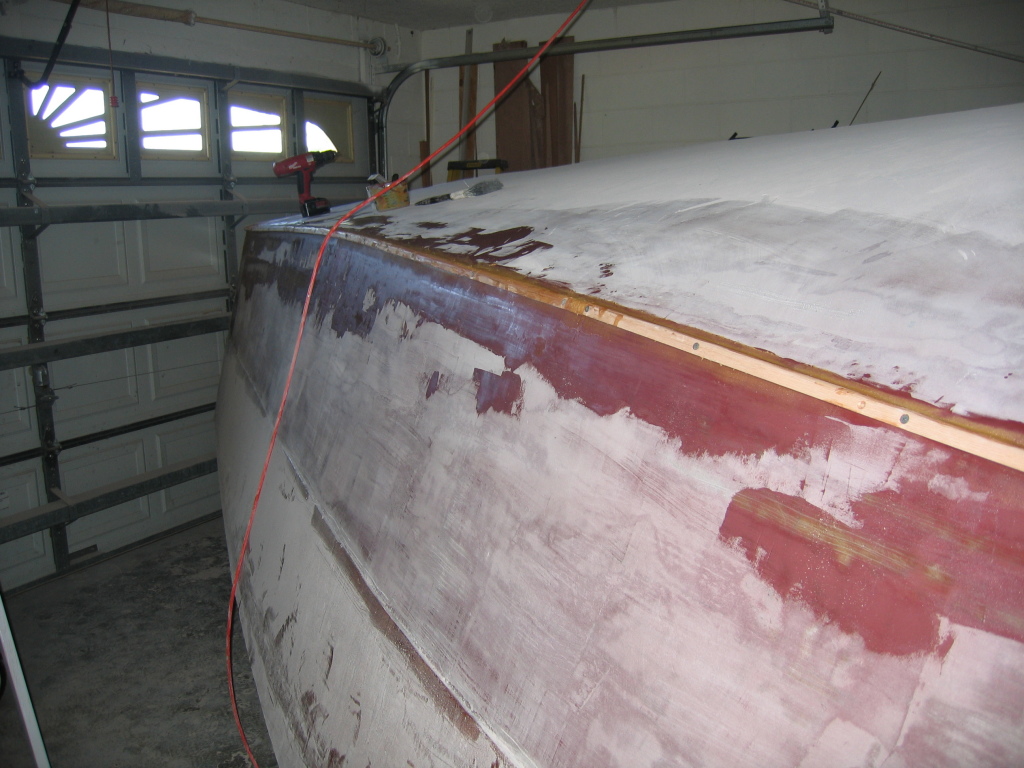 |
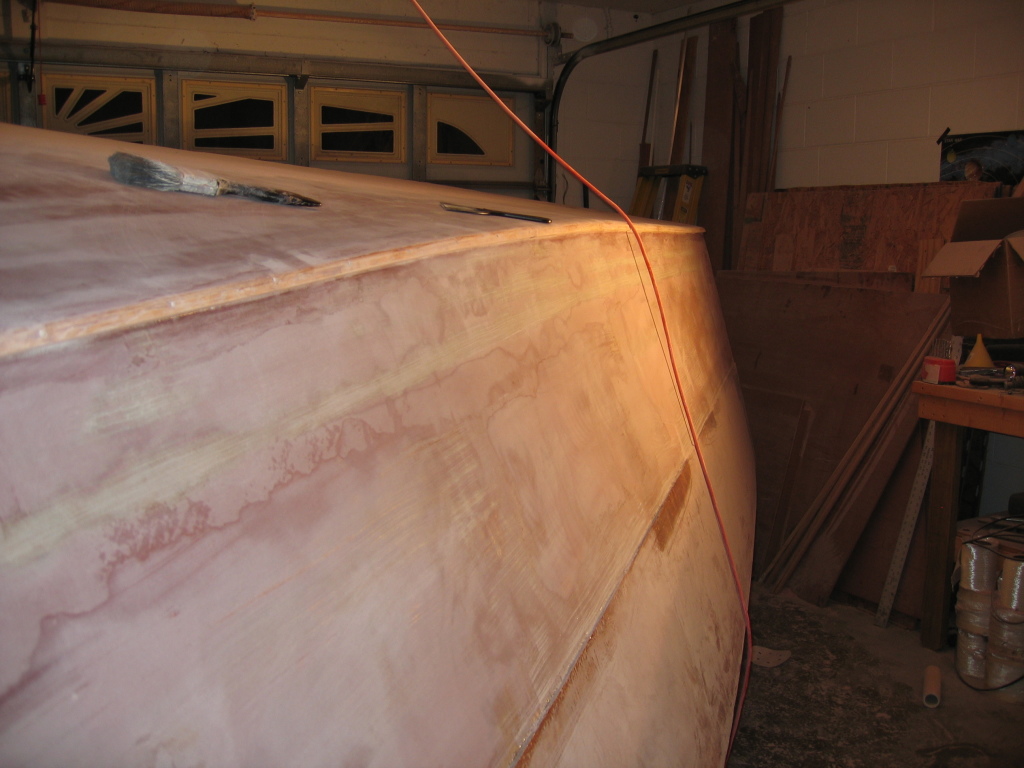
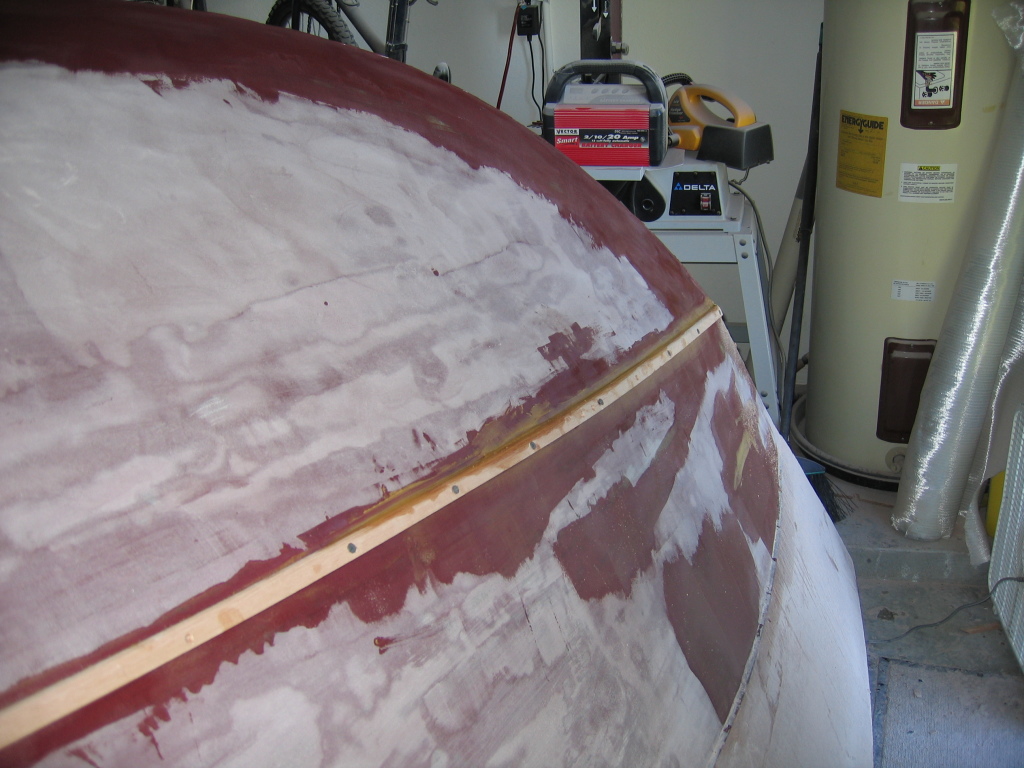
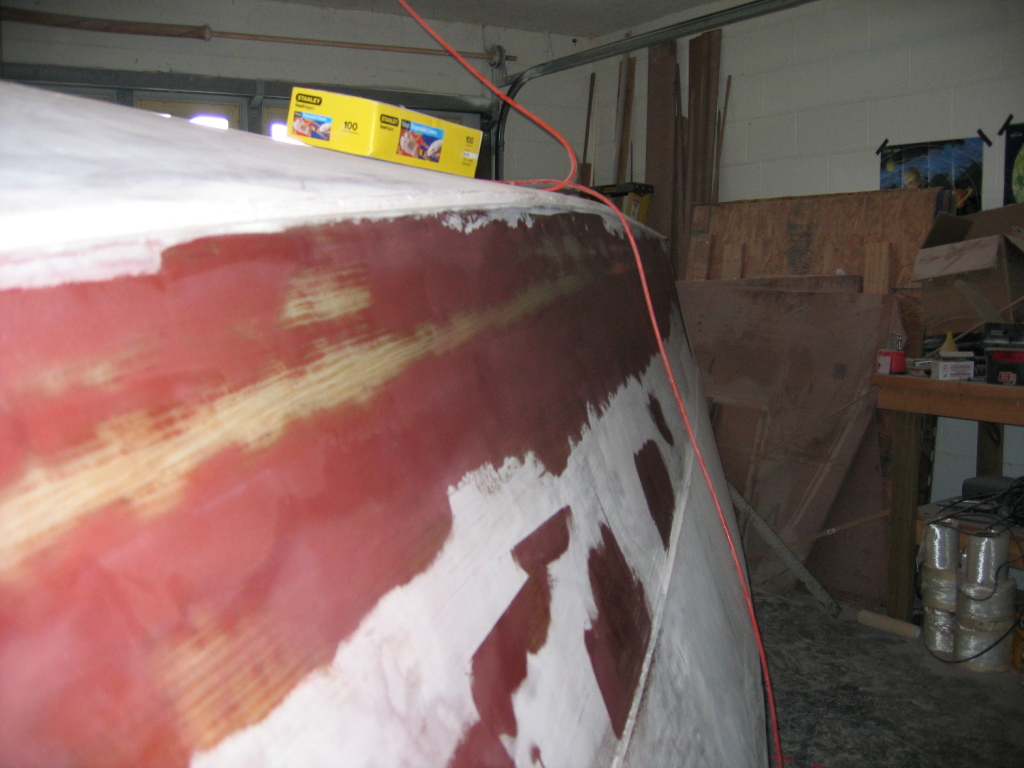
| This picture shows the fairing compound I spread earlier today and the a view down the chine showing the sprayrail. | A nice view of the sprayrail. | Sprayrail towards transom. |
 |
 |
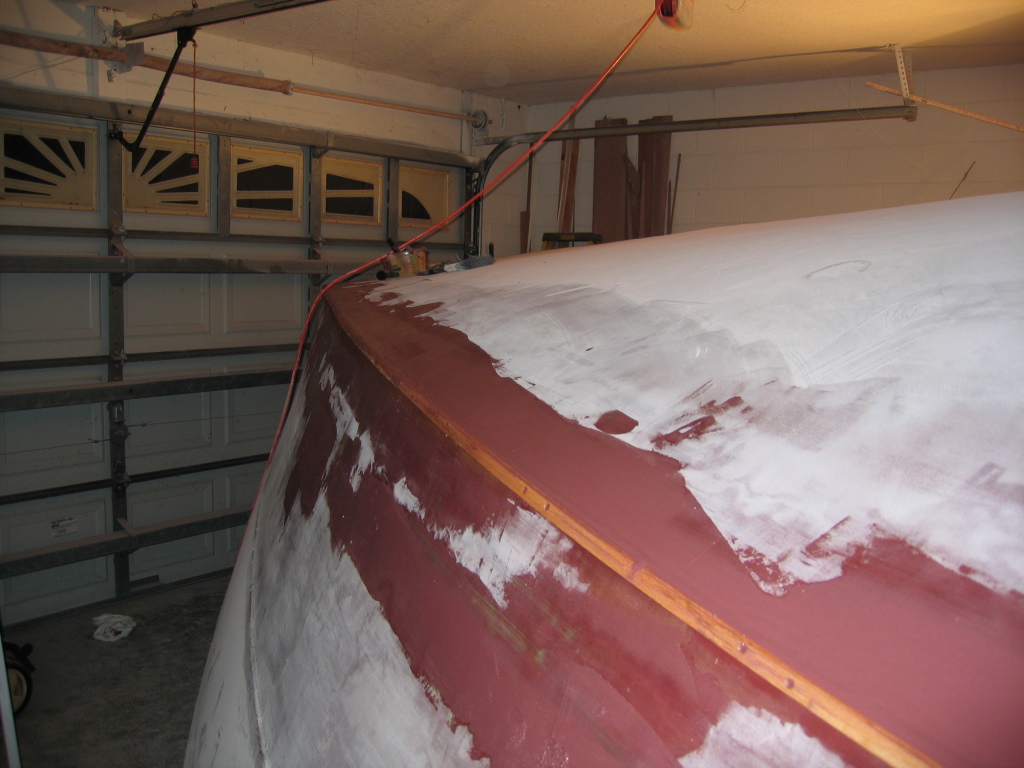 |
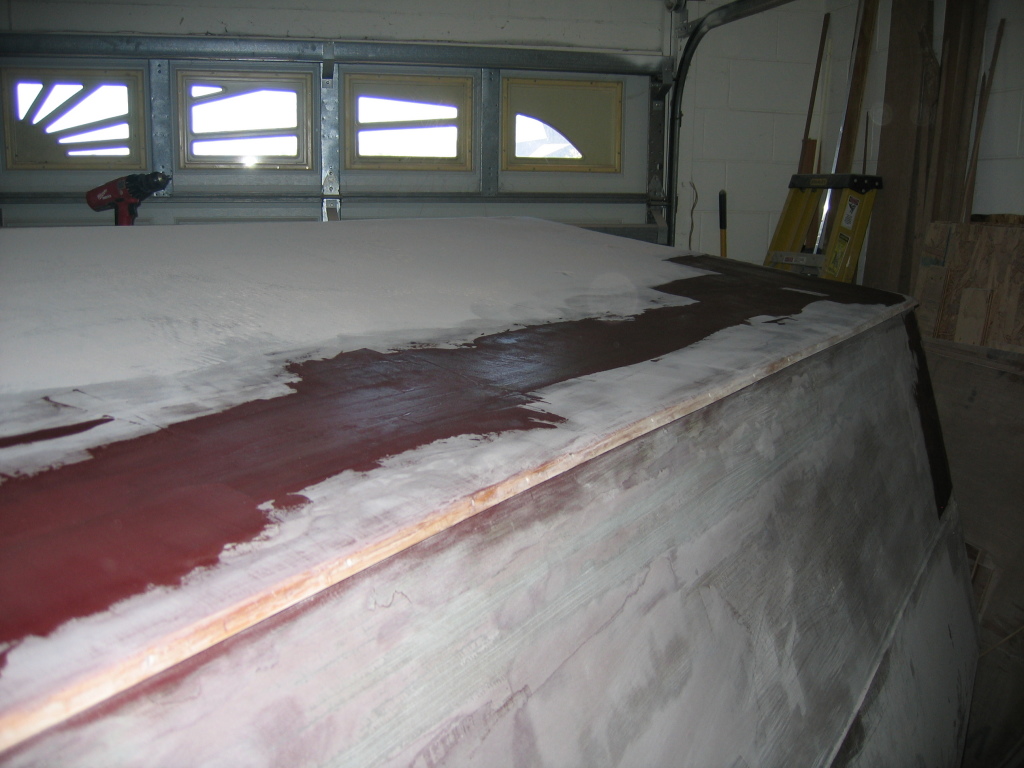
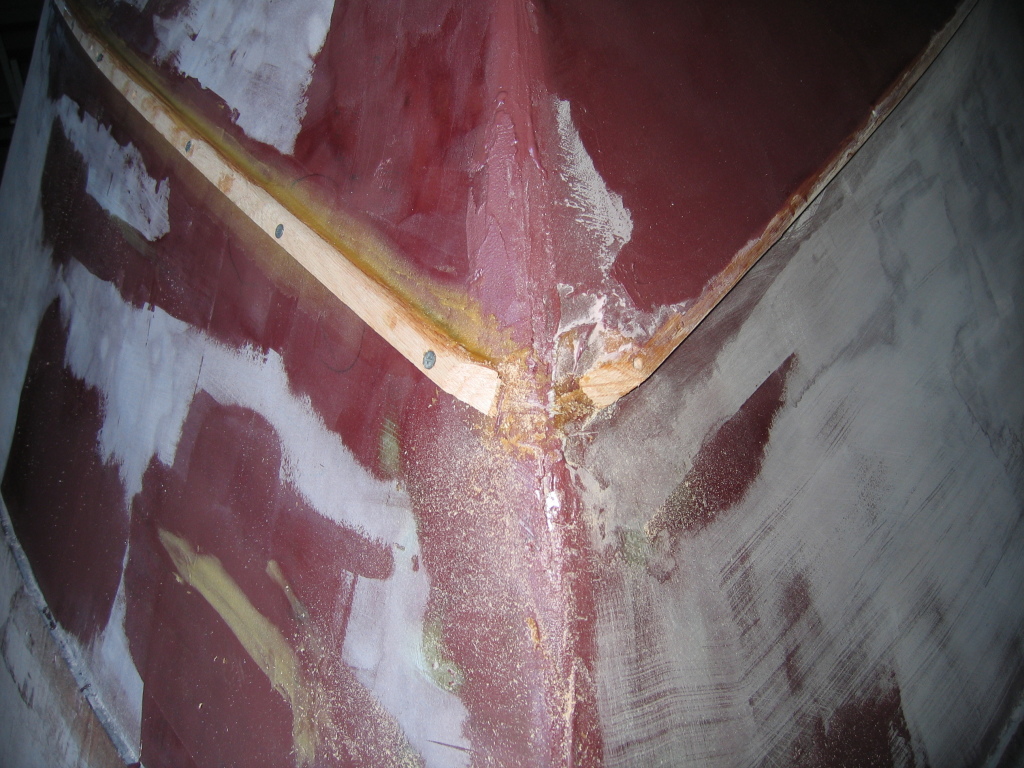
| Sprayrail towards bow. | Once the epoxy/wood flour cured enough to hold the sprayrails I removed the screws. I read that other builders waited until the epoxy was fully cured and some of the screws broke off. After the screws were taken out it was time to mix up a healthy amount of fairing compound to blend in the sprayrails. | The hull side showing the sprayrail first dose of fairing compound. |
 |
 |
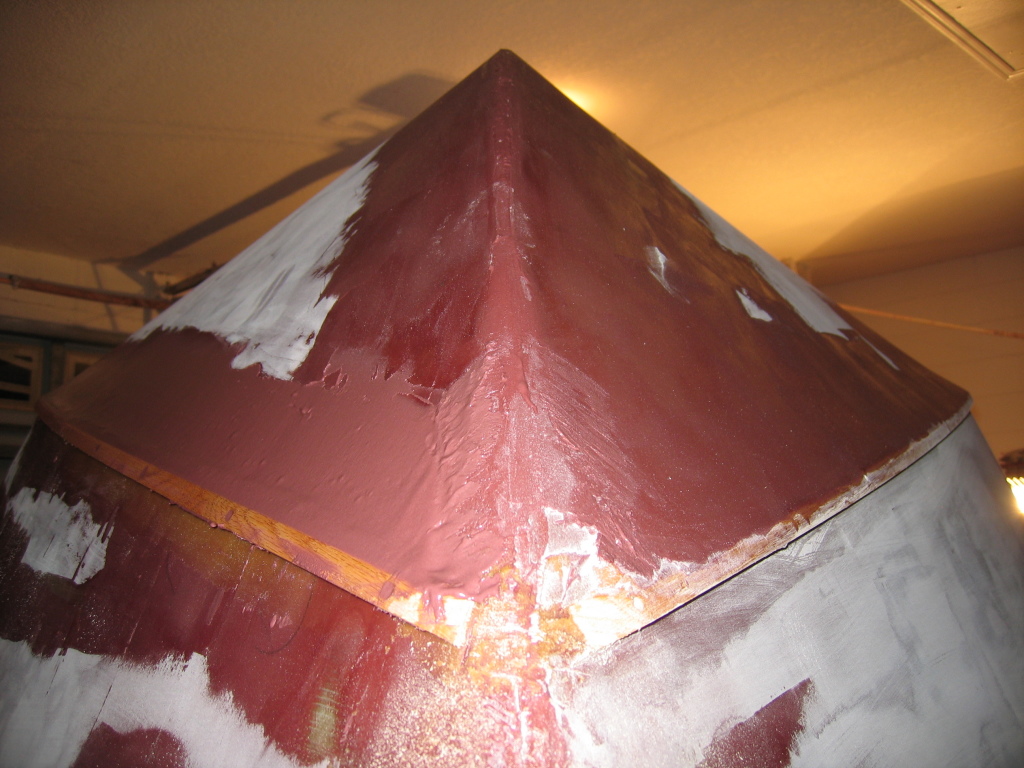 |
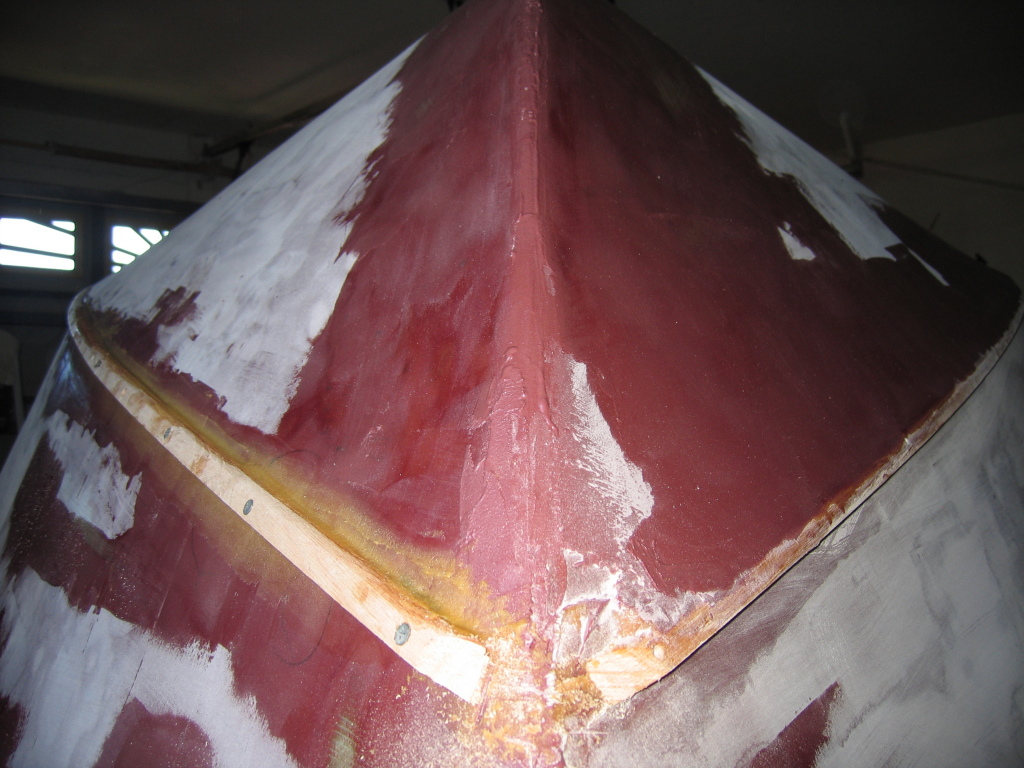
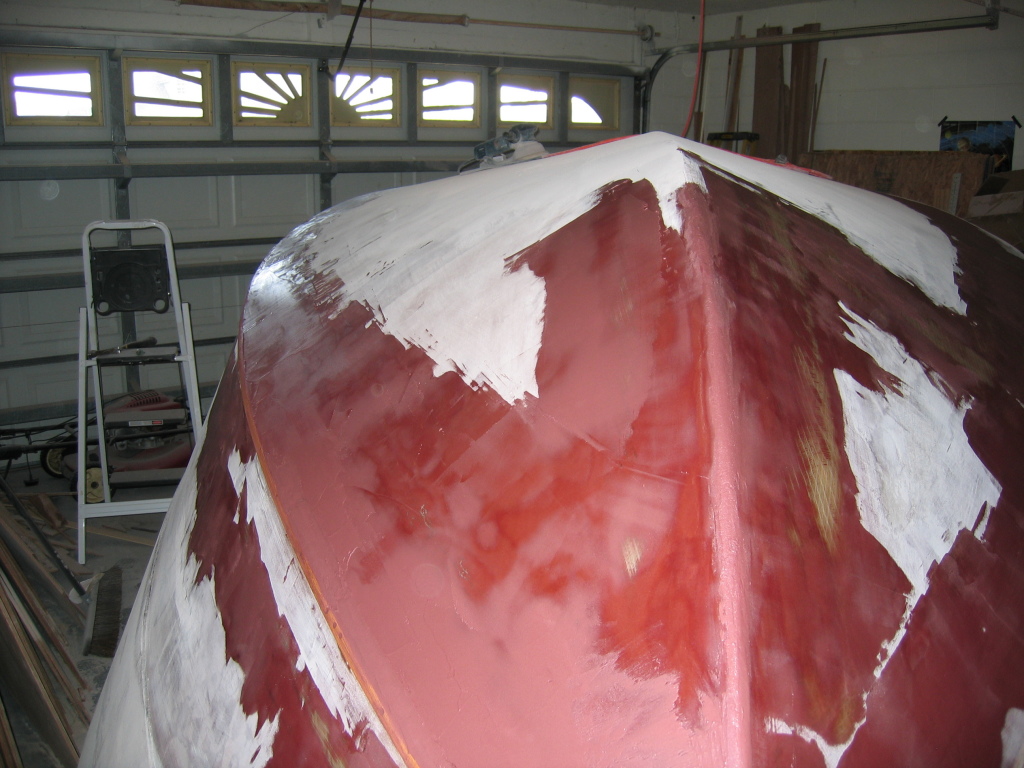
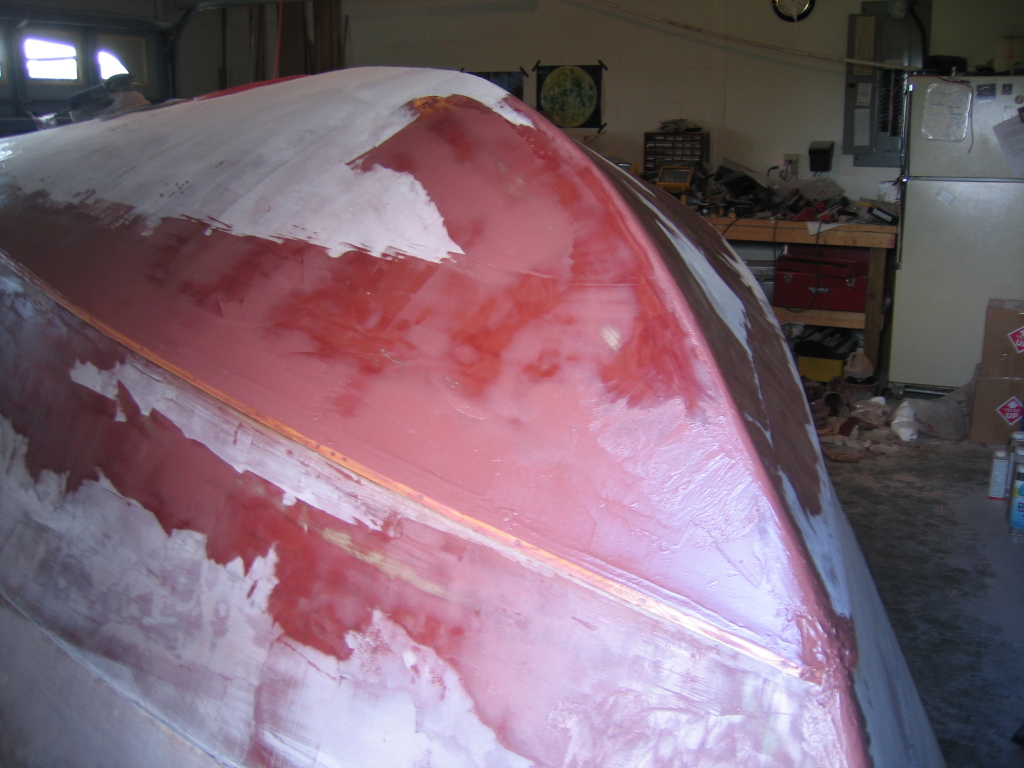
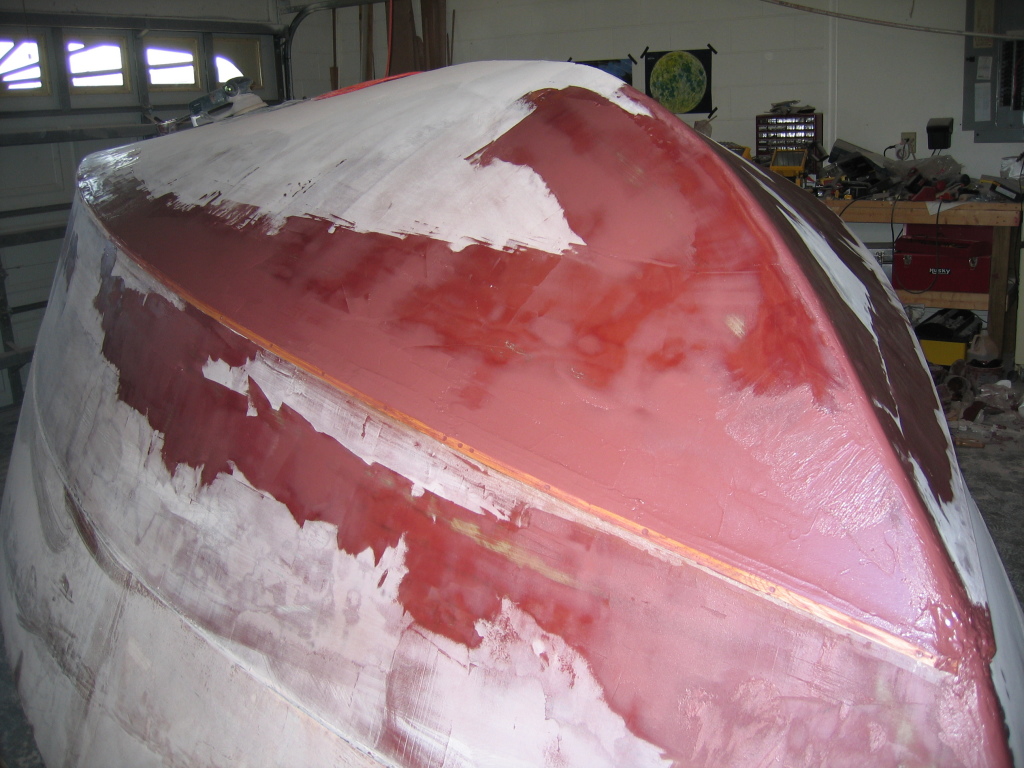
| A view toward the stern showing the fairing work. The excess compound was used to further fair the hull side. | Closeup of the sprayrail as it is being blended to the hull bottom. | This picture of the bow shows the sprayrails at very different stages of fairing. The right side has been faired several times. This should give some idea as to how the process of fairing can produce a clean surface. |
 |
 |
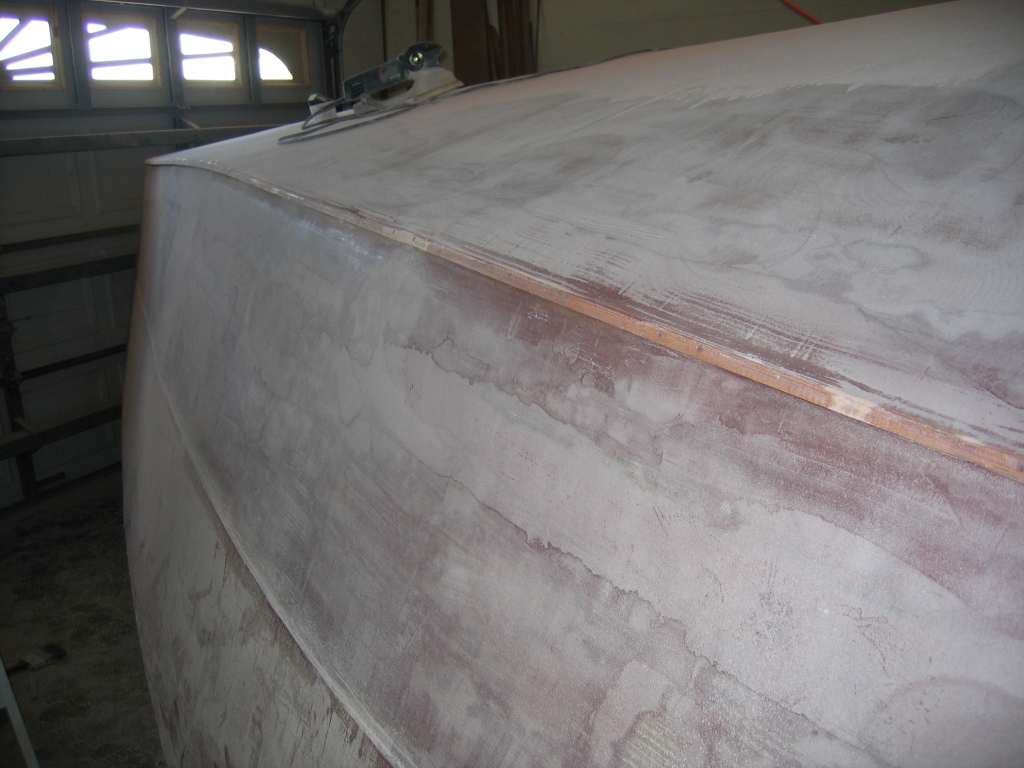 |
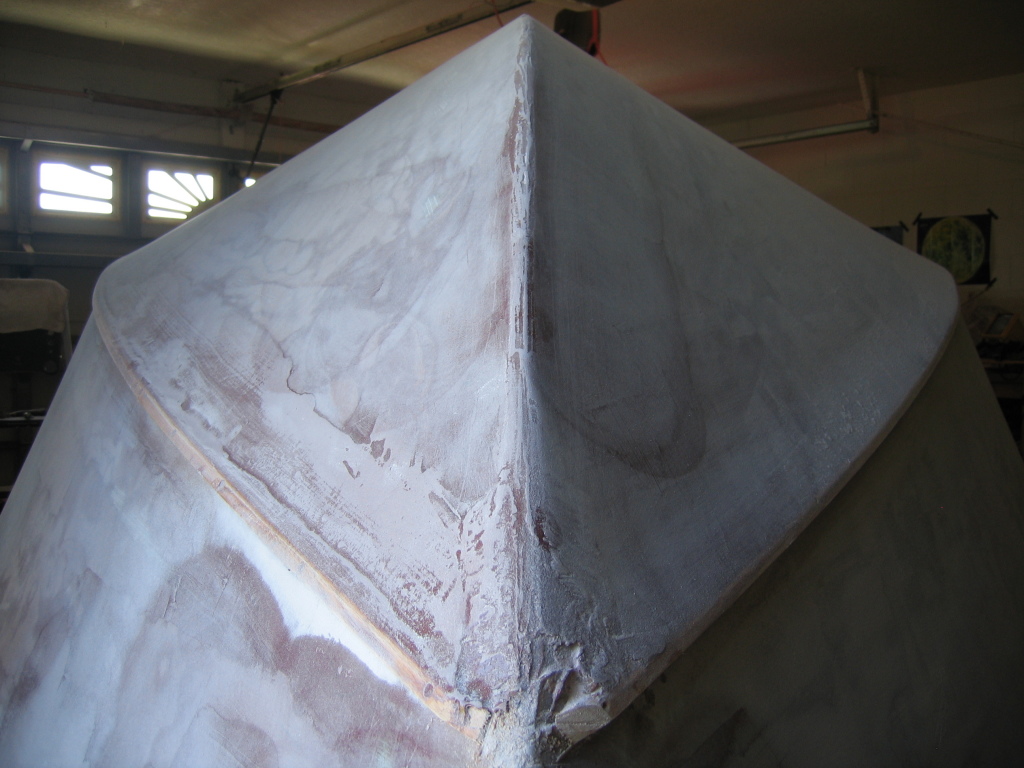
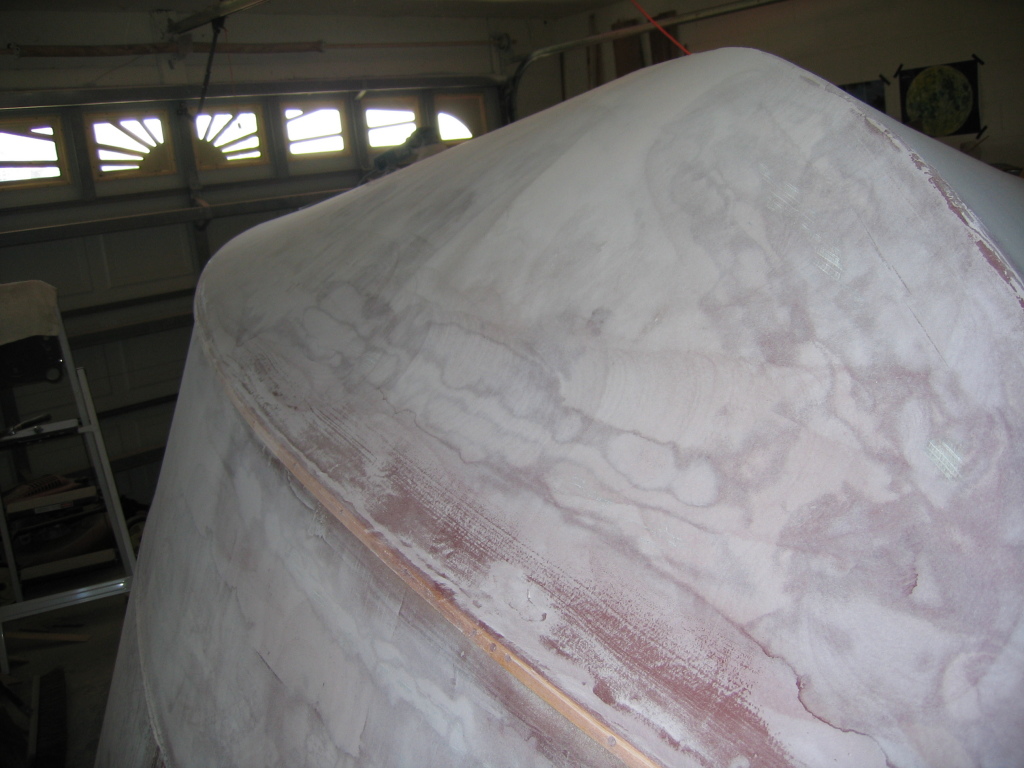
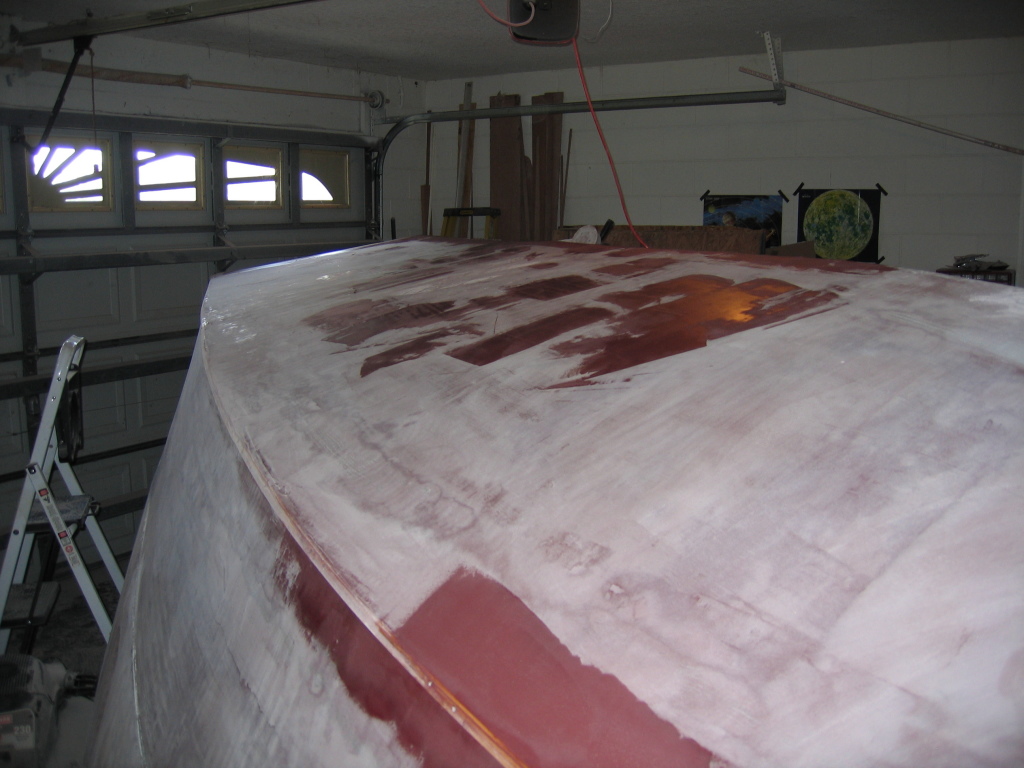
After the fairing compound has cured I sanded it down again. | Here is another view of the sanded hull. | Another view of the hull after sanding, showing the side. |
 |
 |
 |
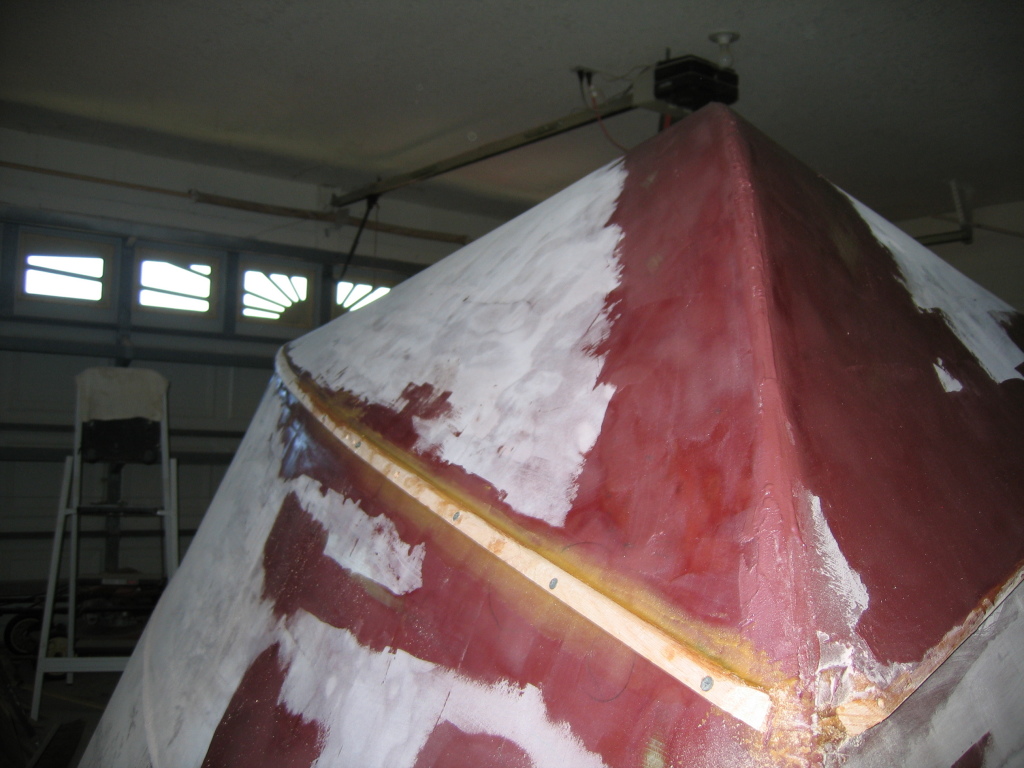
| A few more batches of fairing compound are mixed and then spread on the hull. This is the first time using a 12" spreader. The 4" and 6" served their purpose, but in order to fully blend out the fiberglass seams I needed a much larger spreader. | The 12" spreader is much better at filling in low spots, only a few more rounds of fairing to go (this is always true). | Another view of the bow showing the entire boat. |
 |
 |
 |
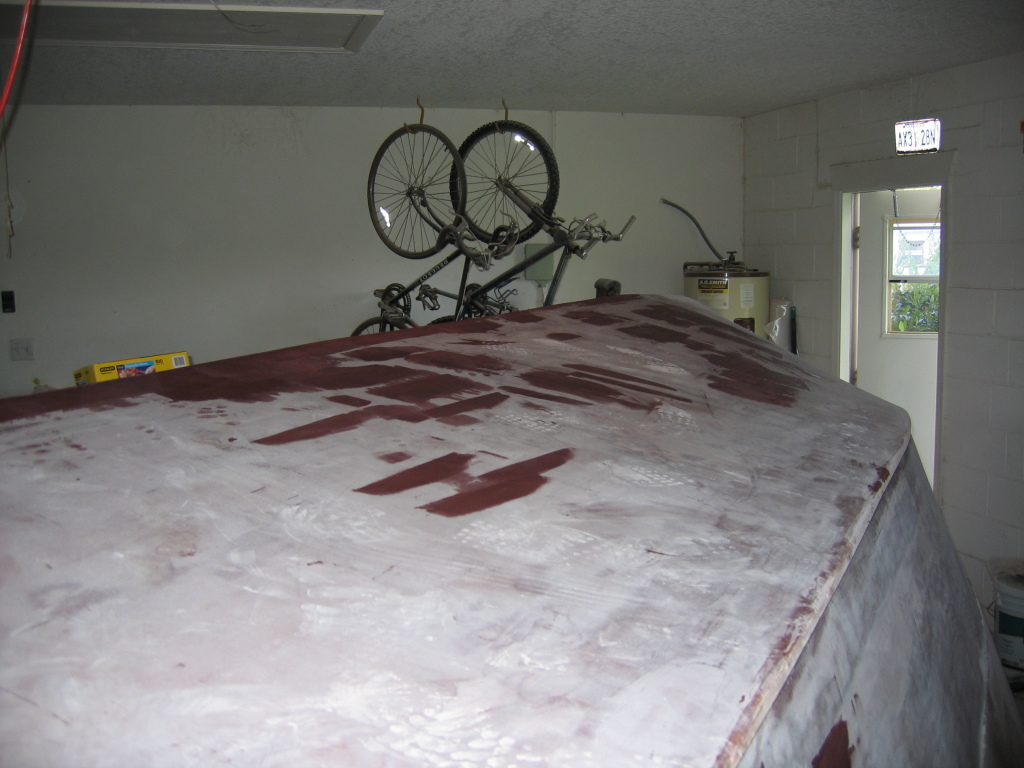
| The hull is again sanded where needed and a new layer of fairing compound is applied. I'm really getting close now. | One of the areas I focused on was the keel, yes, those are foot prints on the hull bottom. | The sprayrail is pretty well faired at this point. Once this is sanded down again, it may be complete. You can never really finish this process though.. |
 |
 |
 |
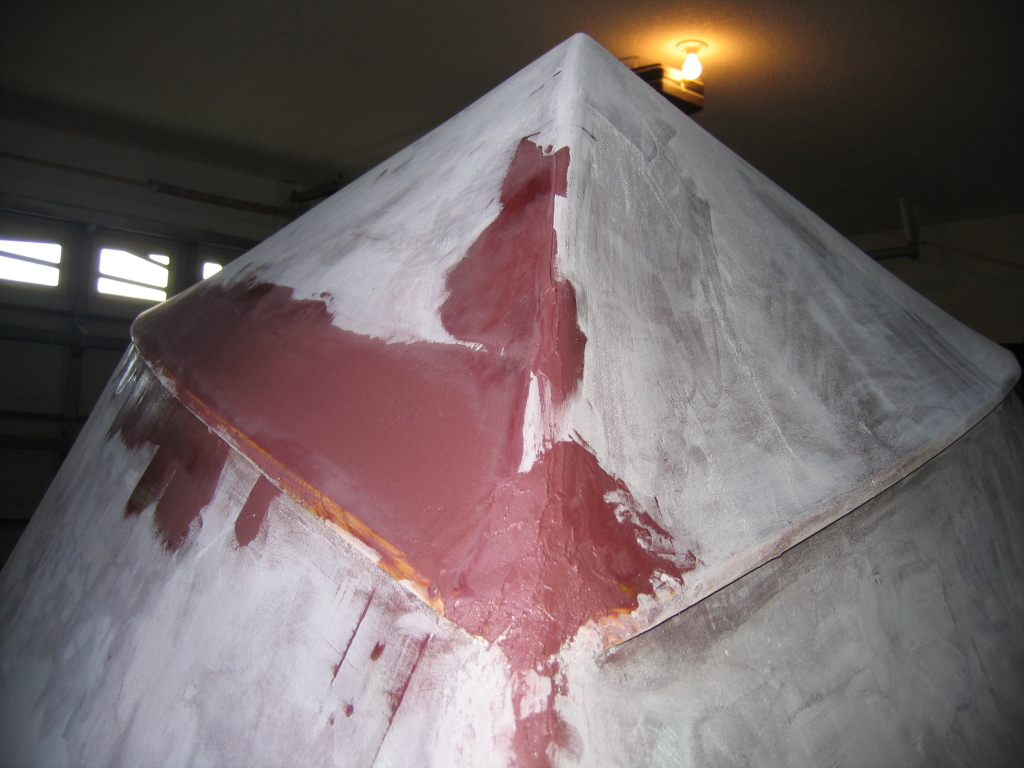
| I mixed up another batch of fairing compound to give the finishing touches on the hull side. This should be very close to perfect (already was) when I sand again. | The transom and the bow are the two areas that have the most fiberglass layers built up that require fairing. With the 12" spreader I was able to make serious improvements to the hull bottom near the transom. | Here's a view of the hull bottom showing the keel. Still this is not very refined up close. I'll be spending most of my attention on the keel in the coming days. The rest of the hull is really quite fair. |
Copyright© 2004 - 2005 by Michael D'Amour. All rights reserved.