 |
 |
 |
| In order to fair the hull I mixed up batches of epoxy with microballoon/silica filler. These are easily sanded fillers that make fairing a little less time consuming. | I spread out the mixture on the hull bottom. The silica serves to thicken the epoxy so it wouldn't run or sag. | After a few minutes the epoxy floats out and most of my spreading marks went away. |
 |
 |
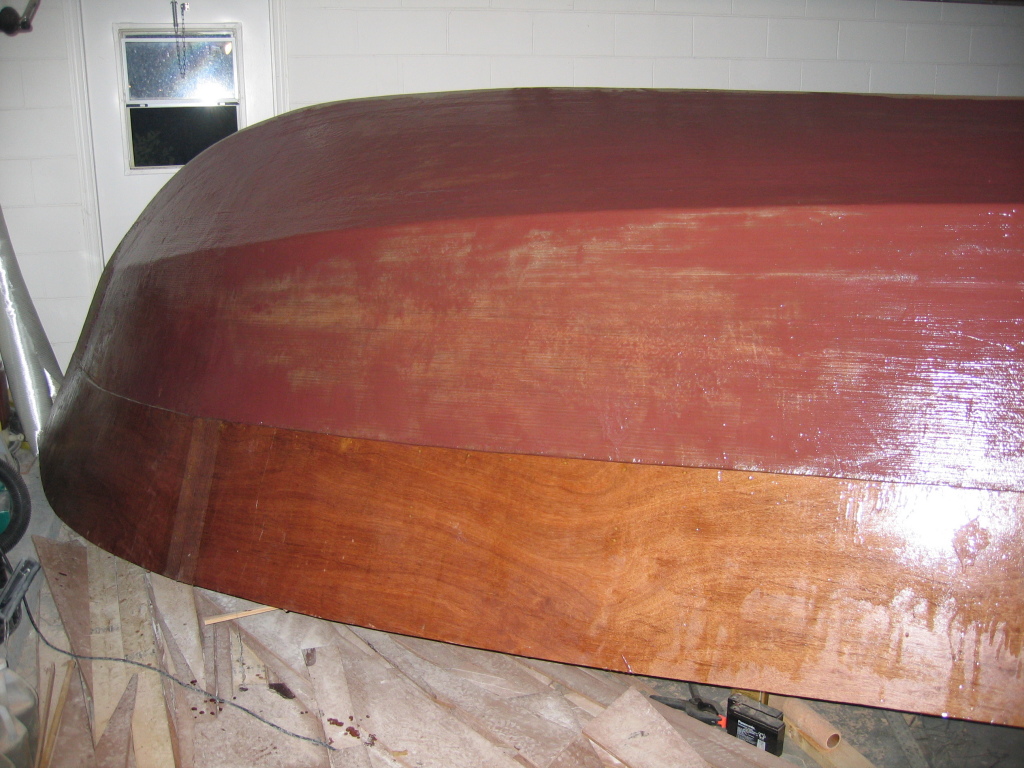 |
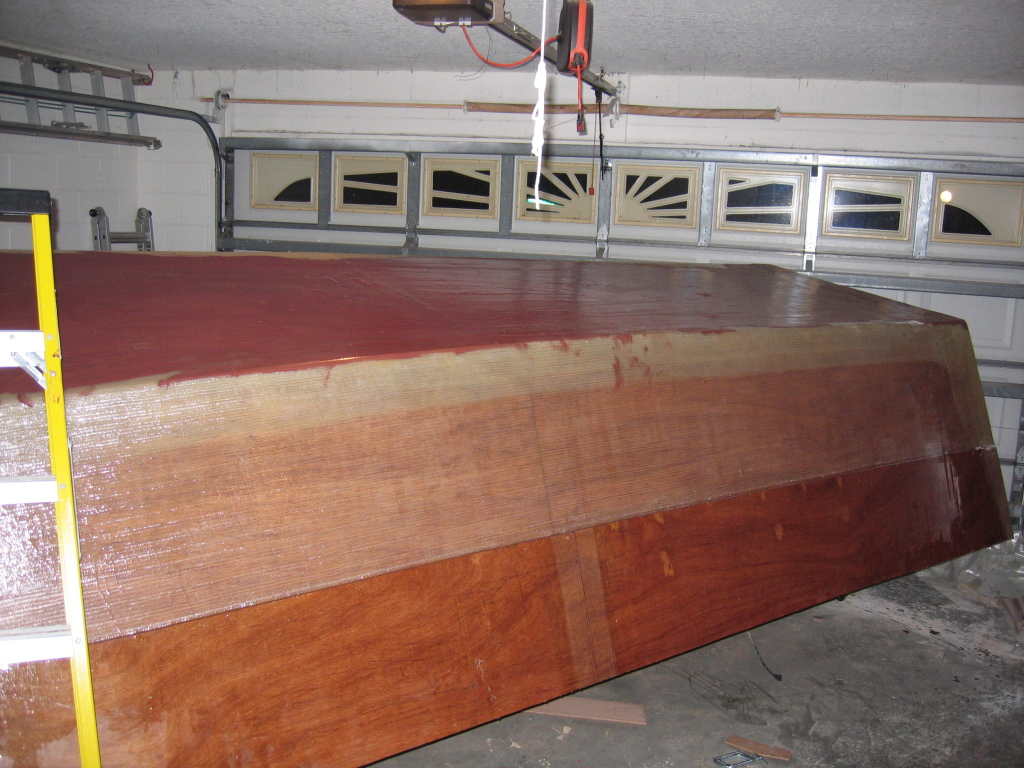
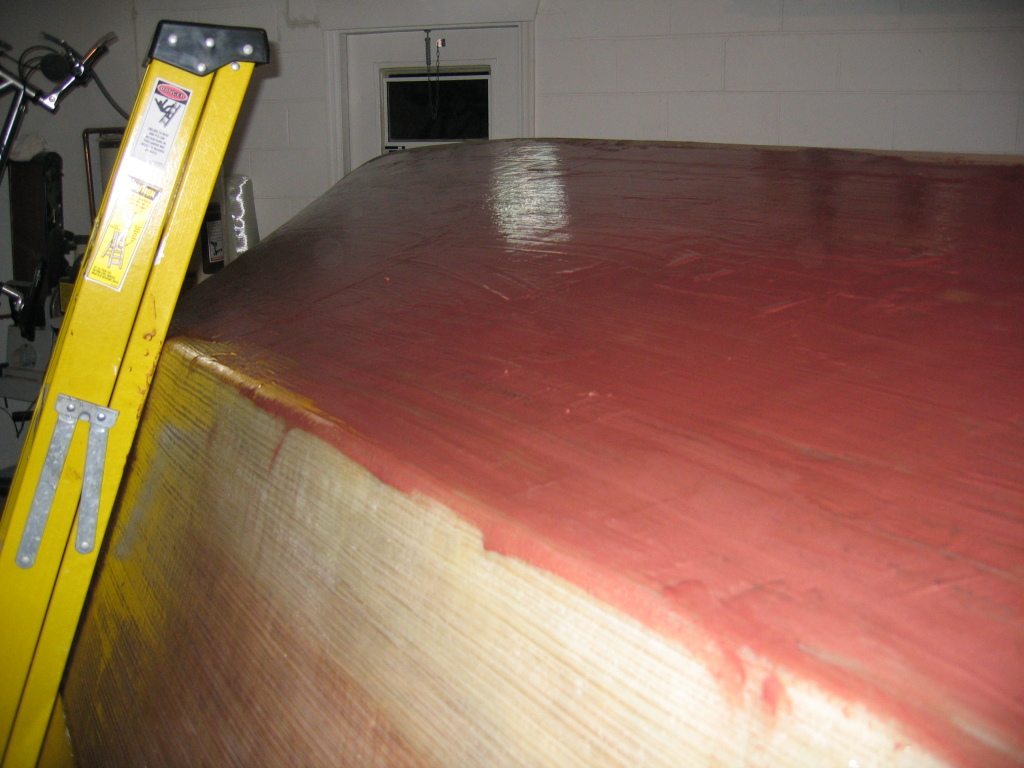
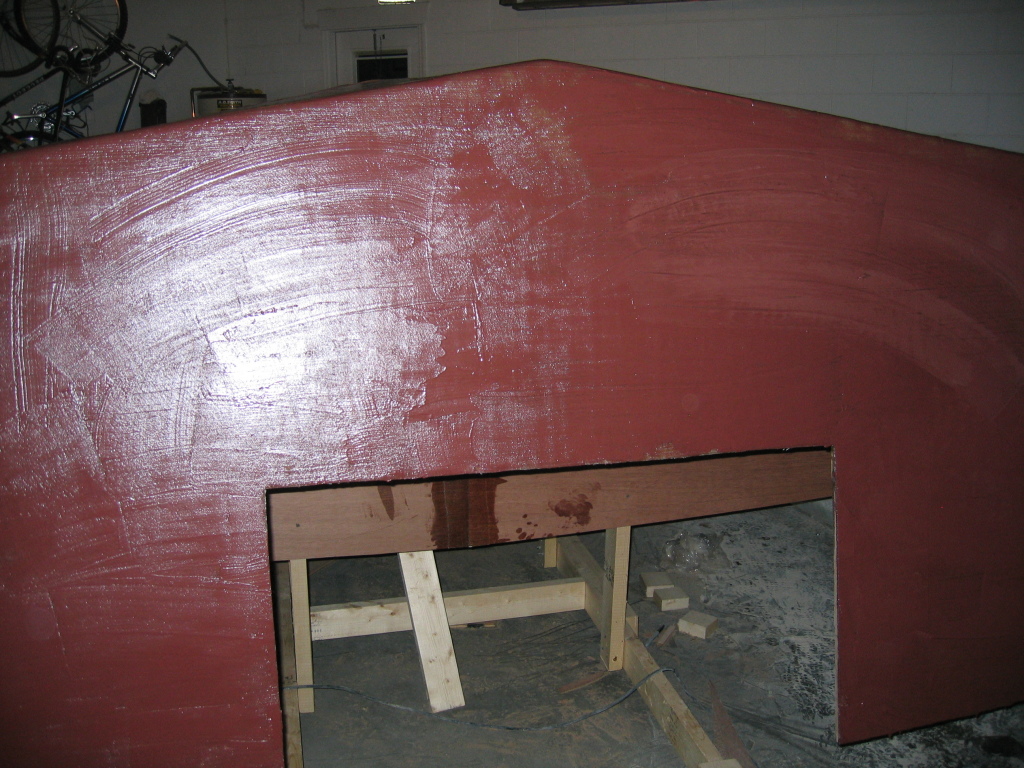
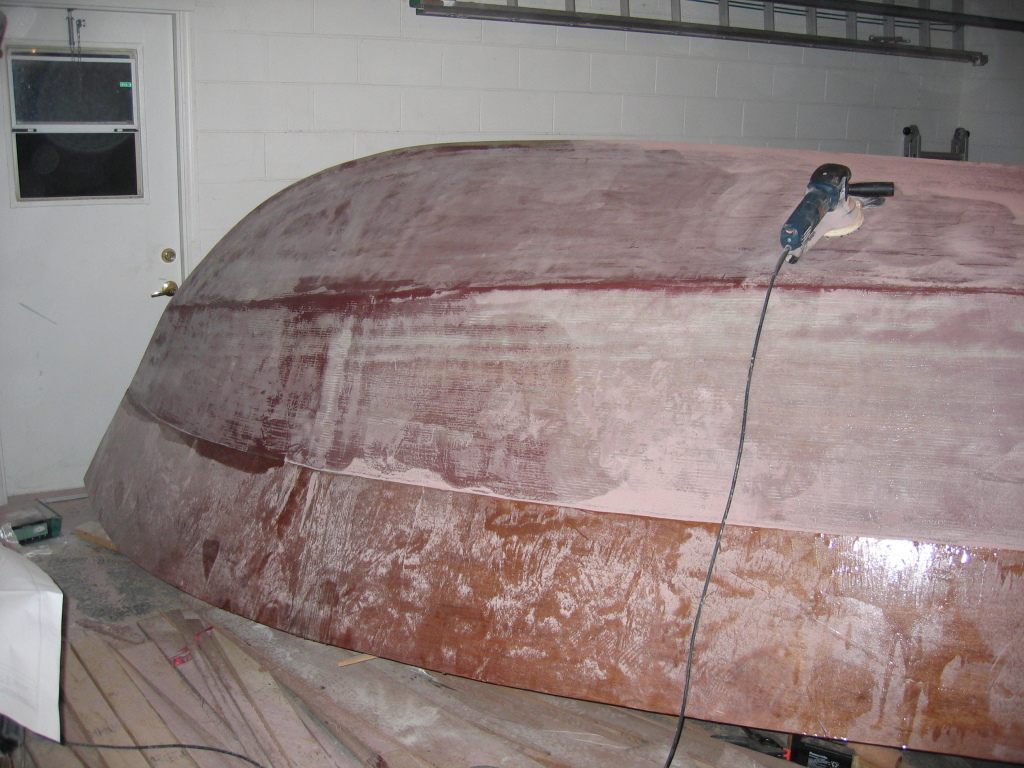
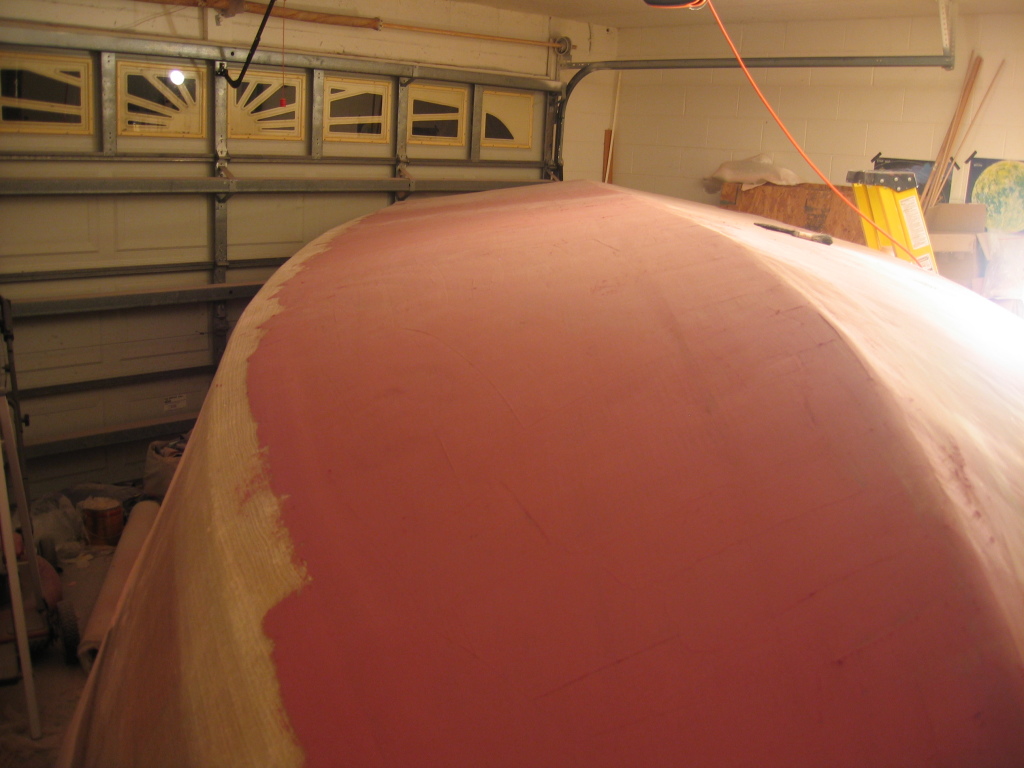
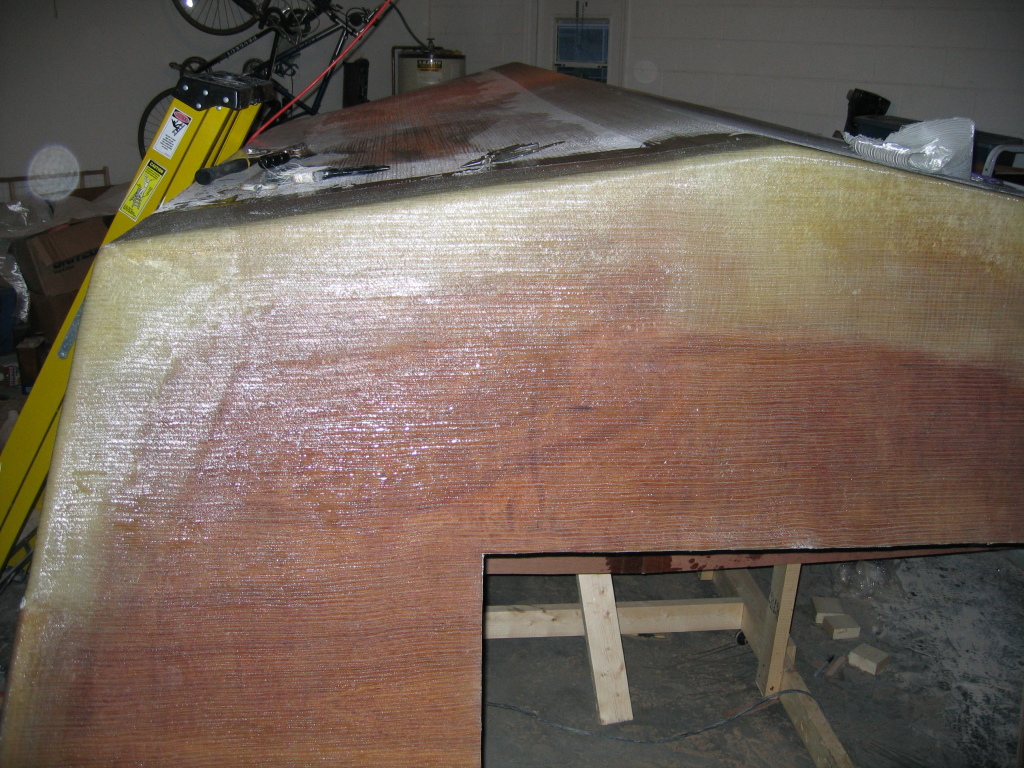
| Transom view, showing half of the boat coated with microballoons. | Better shot of the transom, showing that the surface is now much more built up over the weave of the fabric. The idea here is to build it up enough so that the surface can be sanded without going into the fiberglass. Compare with this. | A view of the bow after with microballoons on most of the hull. The upper side panels aren't going to need a layer of microballoons/epoxy since they are not fiberglassed. I will sand them as needed before applying primer on the entire hull. |
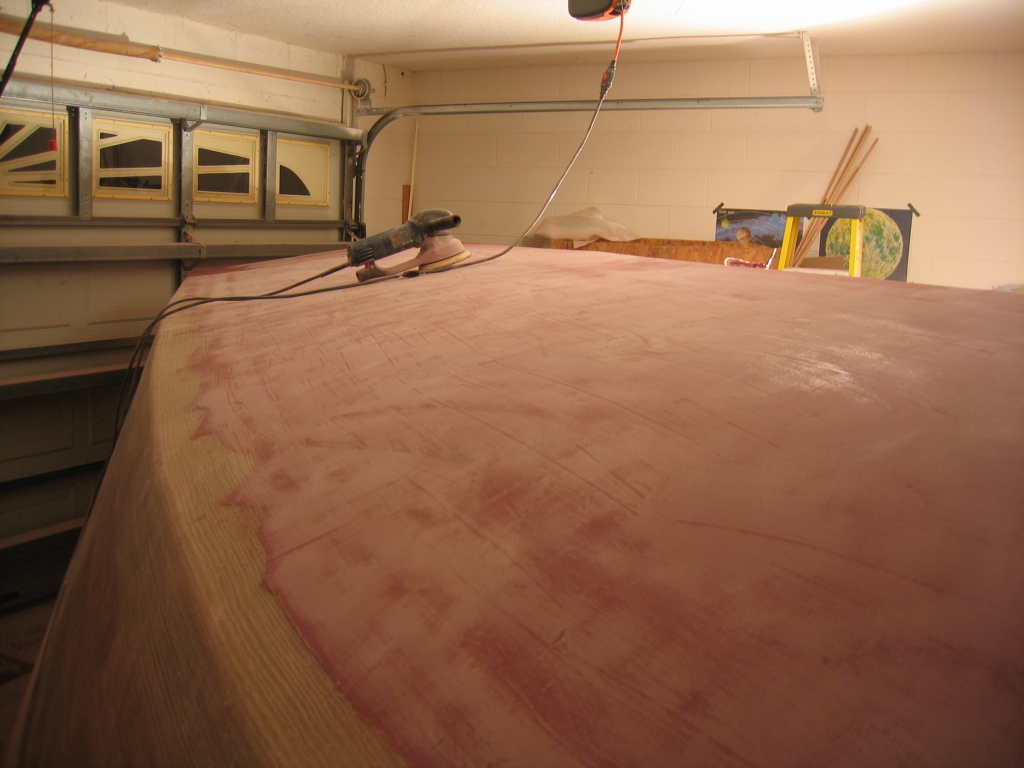
| The first area I sanded was the transom. This took much longer than I expected, but the microballoons did sand down nice. | The surface is very smooth now, the weave of the fiberglass has been filled in. | Another view of the sanded transom. I'll sand it with a much finer grit once I'm ready to prime for painting. |
 |
 |
 |
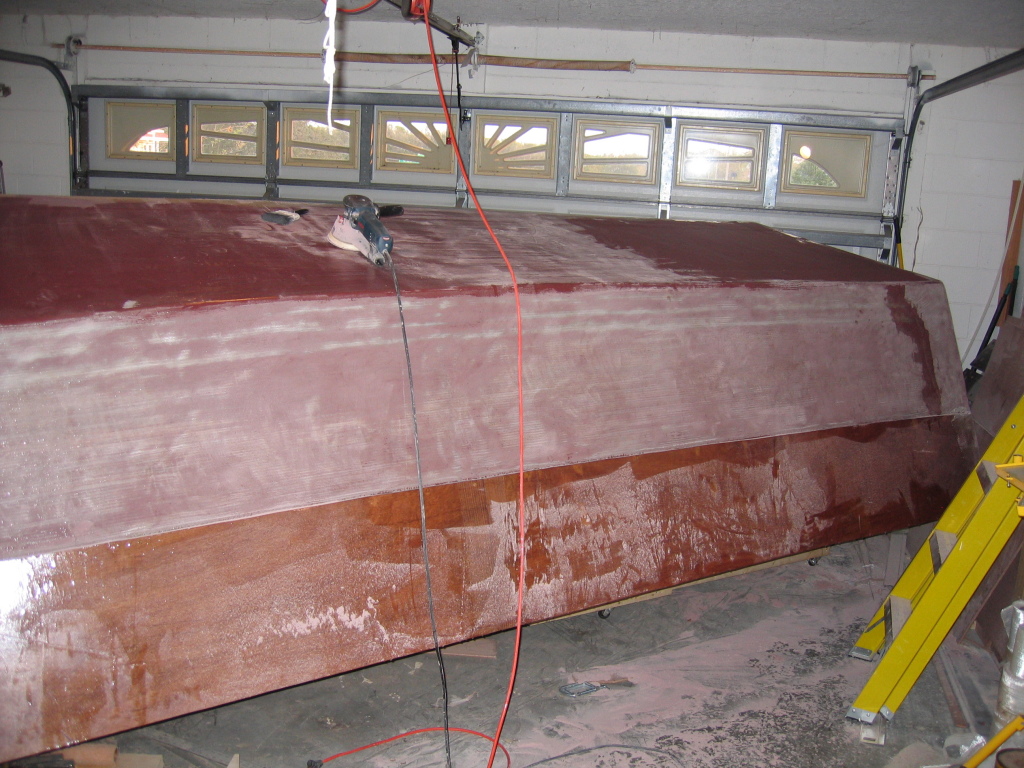
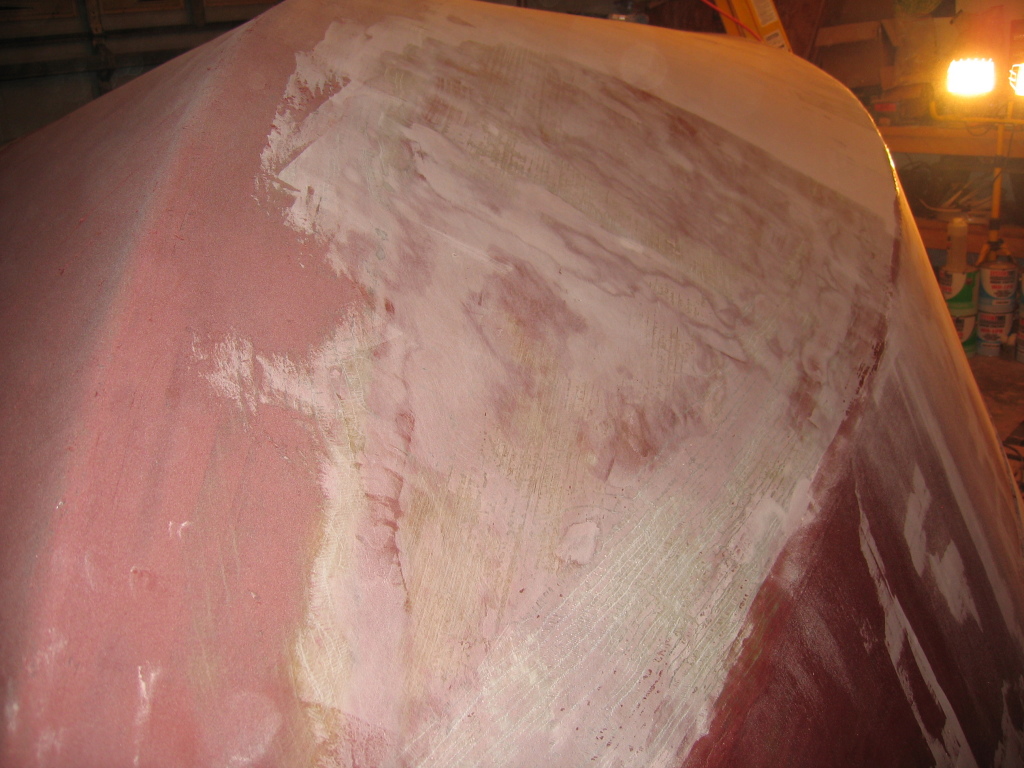
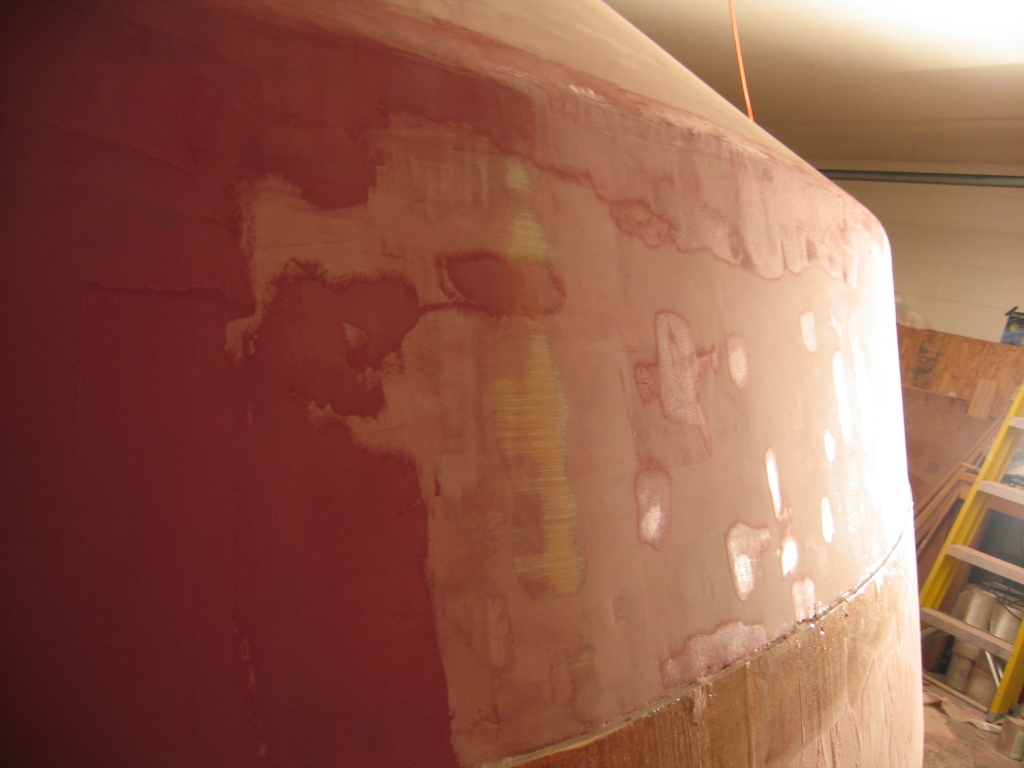
| I sanded the lower side panel, again, this was very time consuming, but it is smooth and appears to be fair enough. | Towards the bow there were some areas that needed to be built up a little bit. This was not a result of the sanding, it was caused by the thickness of fiberglass along the keel and chine. | The dark areas in this picture are areas I built up to create a fair bow. Looking at it in person, when you can see the way light hits it, the bow is looking good with the fairing compound filling the low spots. |
 |
 |
 |
| After sanding the hull bottom I realized that it would be much easier (rather than continue sanding, possibly eroding glass) to mix up some more fairing compound and apply a very thin layer over the sanded surface to further fill in low spots. I'm getting the idea that I might have to repeat this process until I'm happy with the surface. | I continued to spread fairing compound on the entire bottom after I finished sanding the rest of it. | Fairing compound on hull bottom. |
 |
 |
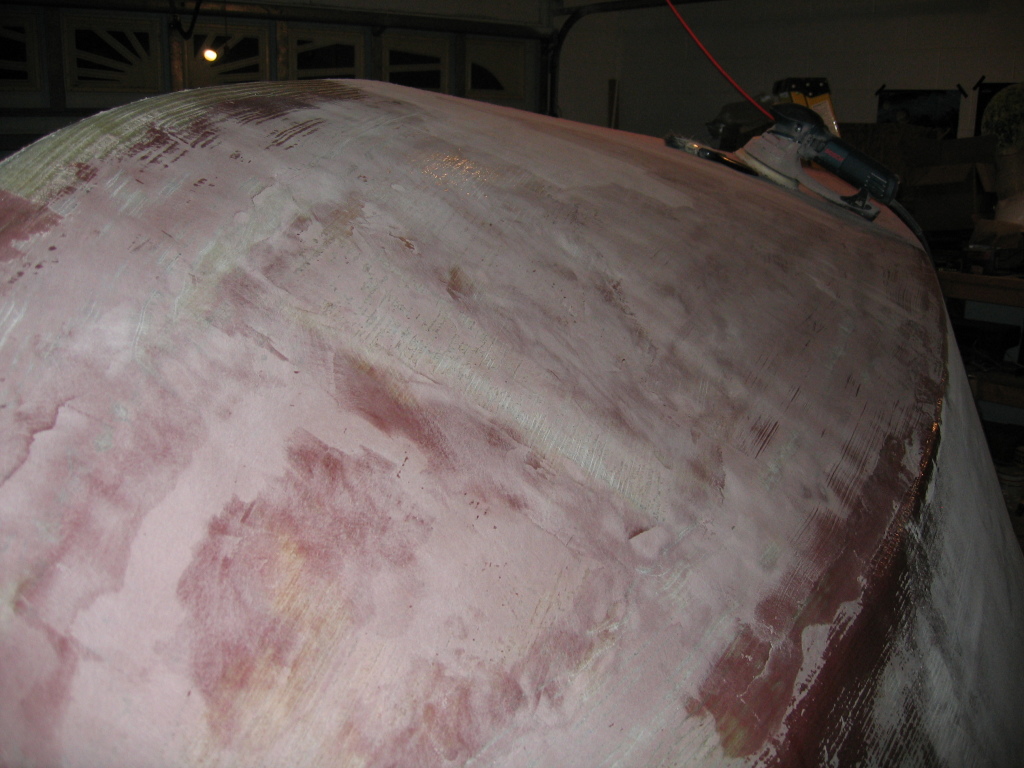 |
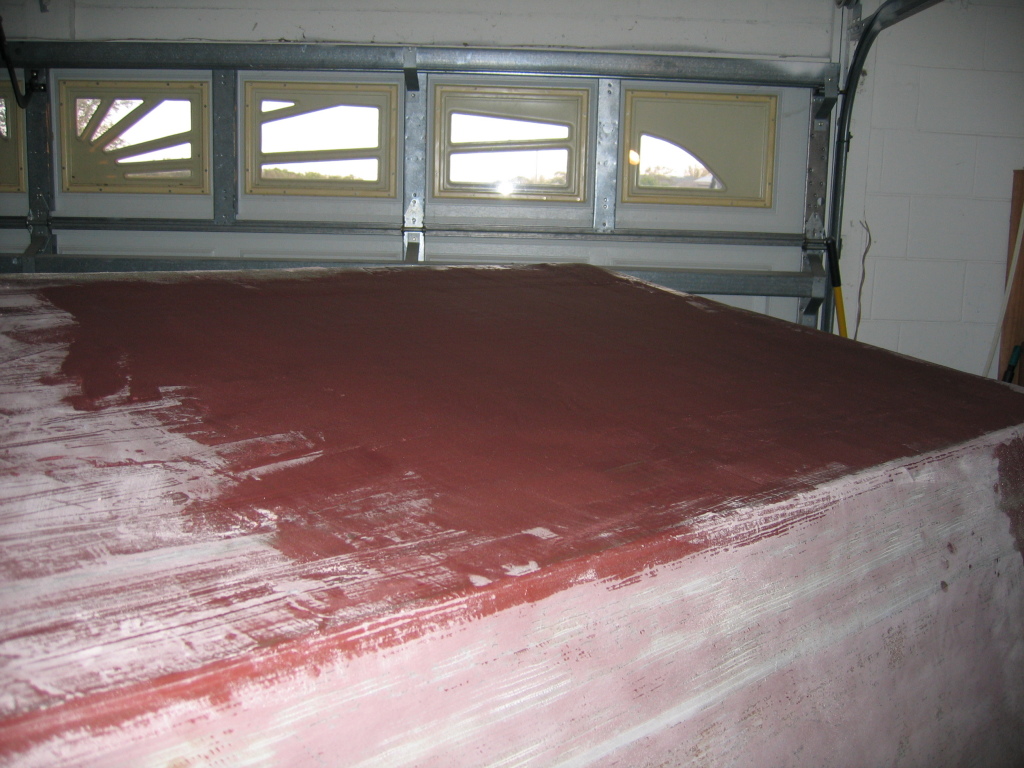
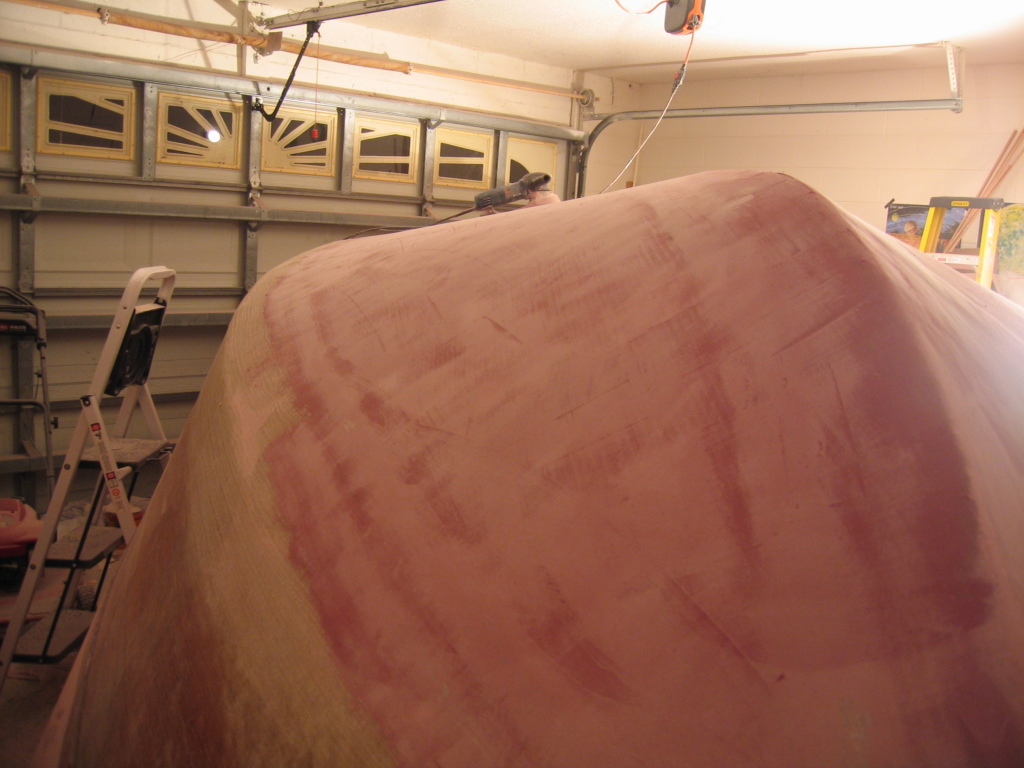
| Another look at the bow. | Several hours of sanding, hard to see results. Another thin coat of fairing compound is needed in many areas. | This is much more fair than it might appear, it is smooth and looks pretty good under strong lighting. |
 |
 |
 |
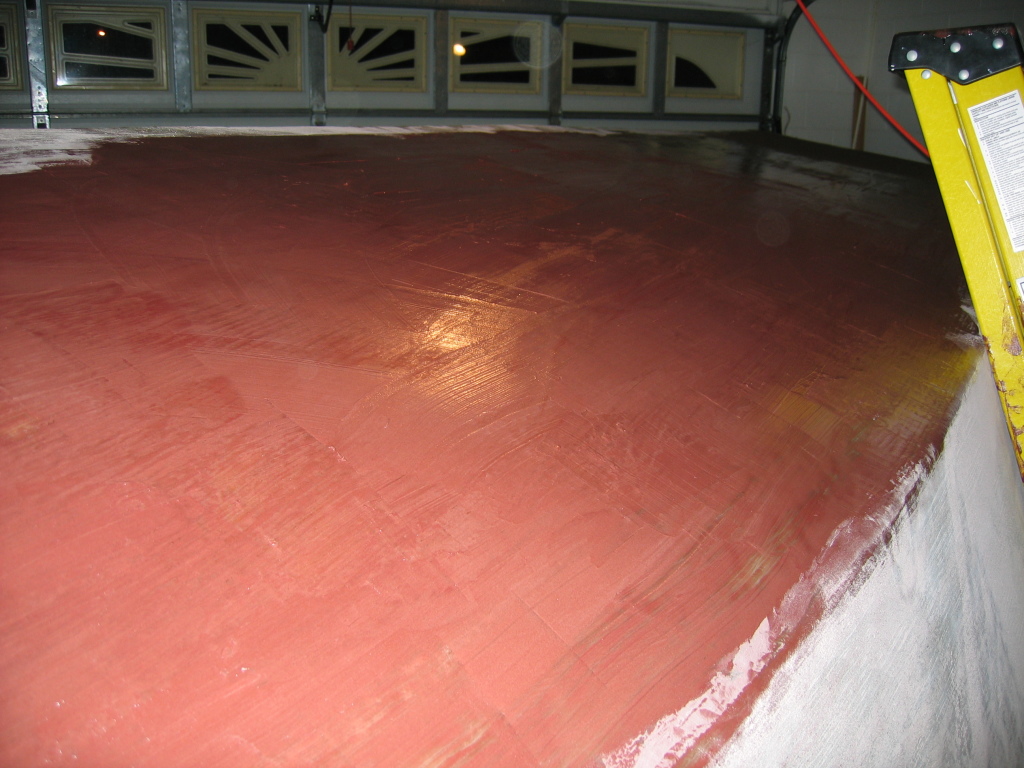
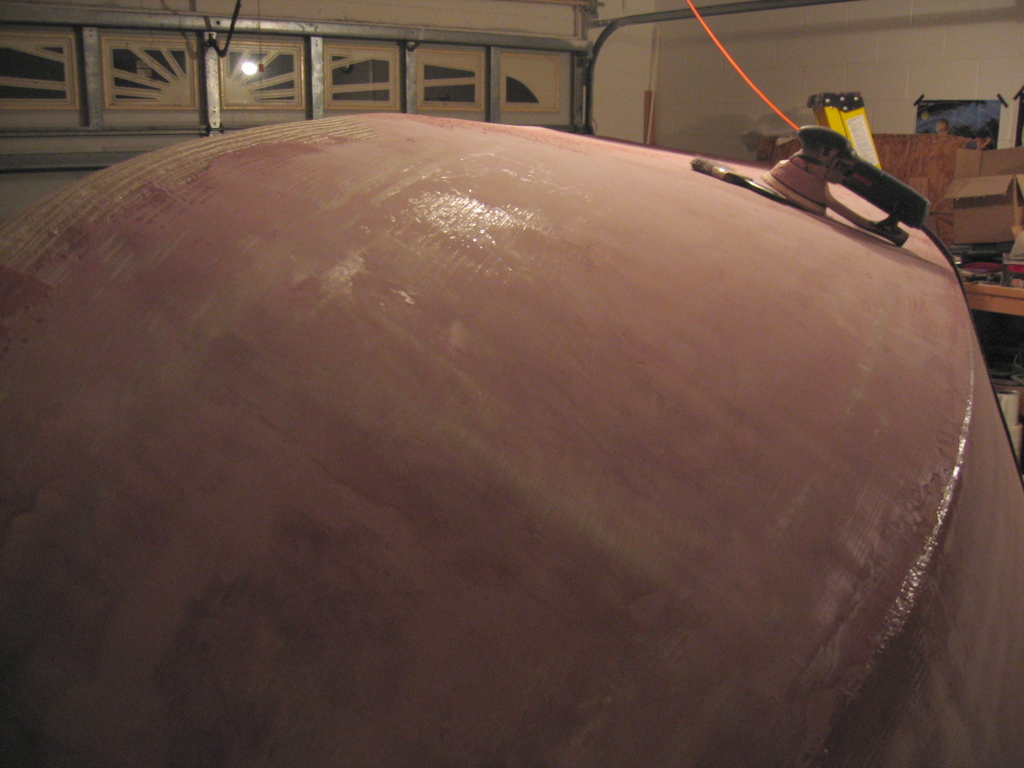
| One more coat sanded down, I tried to capture how smooth it is becoming. | I applied fairing compound to the other half of the hull and did more sanding of cured areas. | A view of the fairing compound on the bottom of the other side. Originally I was going to work until I finished the other side but I got impatient waiting for the fairing compound to cure. I'm thinking about ordering more epoxy with FAST hardener so I don't have to wait 24+/- hours to sand. |
 |
 |
 |
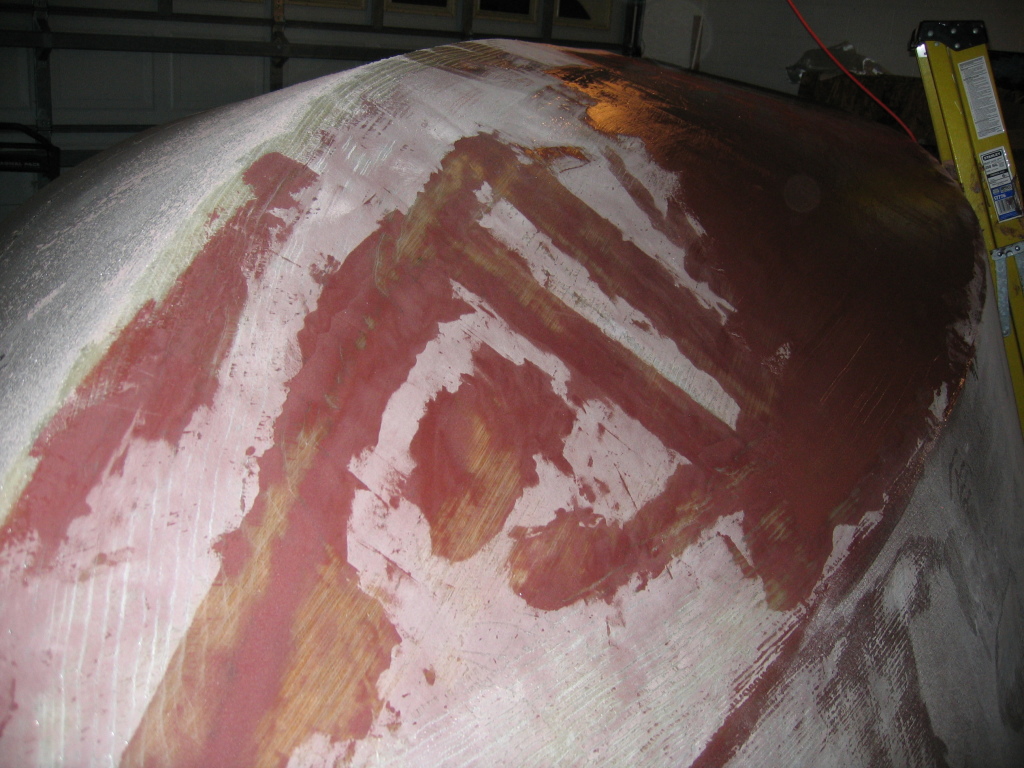
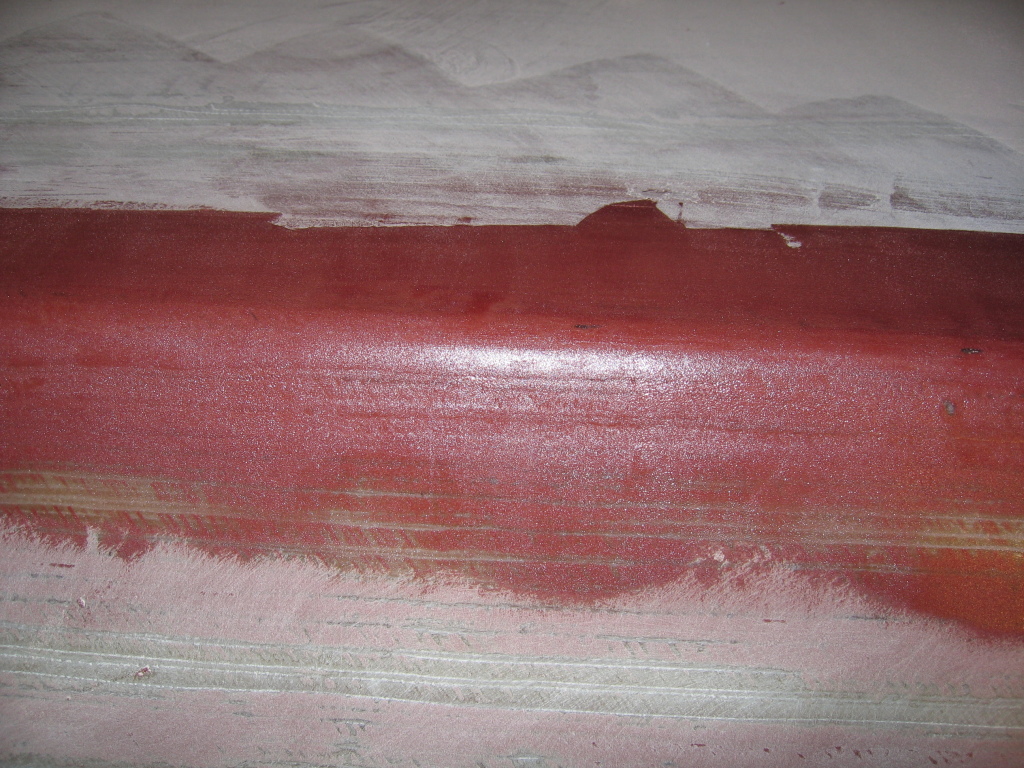
| I had been neglecting the chines since they require hand sanding. I spent some time today sanding them down with a 120 grit and then filling the area with fairing compound. | A closeup of the chine after being sanded with fairing compound applied. After I sand this layer it will be looking pretty nice. | Here is a side shot showing how smooth and fair the surface is becoming. The dark/wet areas are fresh compound. |
 |
 |
 |
| I sanded the other half of the hull bottom. | More fairing work shown, I'm running out of microballoons now. | I tried to line up the camera with the keel. This view just shows another layer of fairing compound. |
Copyright© 2004 - 2005 by Michael D'Amour. All rights reserved.